By Cheryl Whalen, Head Gardener
Driving around the Litchfield hills the other day, all of a sudden it hit me! Wow! Look at the leaves! The subtle yellows and tans of early autumn had been set ablaze seemingly overnight by brilliant oranges and reds. I had previously resigned myself to the fact that this fall’s colors would be humdrum and subdued perhaps somehow due to our prolonged lack of rainfall this summer. This sudden fantastic burst of color jolted me out of my end-of-season slump. The cool crispness of the morning air further confirms my declaration. I feel fully confident and satisfied that fall has officially arrived here in northwest Connecticut. My thoughts immediately hone in on the fall to-do list in the gardens. One of my favorite projects rises to the top . . . bulb planting! Out with the annuals, leaving this past summer season in the rear view mirror, and in with the bulbs, each one sunk into the earth with hopeful anticipation of next spring’s colorful awakening after the winter slumber.
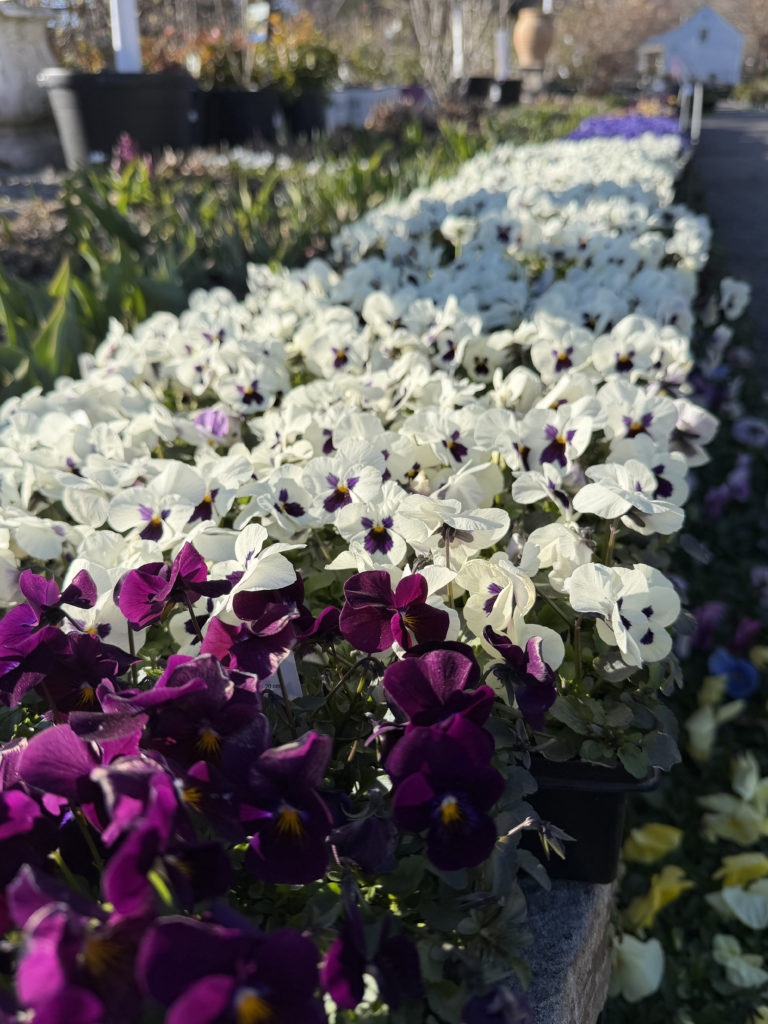
We have a border just south of our shop that has, more years than not, been loaded up with tulip bulbs each fall which then in turn greet our visitors with a dramatic welcome each May. During the summer, the garden plays host to a variety of annuals as well as tender dahlias. With the onset of fall, these seasonals are dug out and the garden is prepared for tulip planting.
Back in August, I dreamed up my tulip planting scheme. Armed with my scissors and stack of pictorial catalogs, I fall back on my trusty collage design technique to create my planting plan. This year I decided to focus on the group of late-season blooming tulip varieties featured in our bulb offering. Because I’m going for the drama, I try to tailor my planting so the tulips will bloom all at once in order to achieve the maximum color impact when the bulbs flower. Collaging is effective for this type of scheme. I shuffle around my tulip picture cutouts on my graph paper until I am certain each variety will play well with its neighbors. Then I translate the lineup to the garden map below, filling in the tulip varieties in each section along with a corresponding quantity of bulbs needed to fill that space.
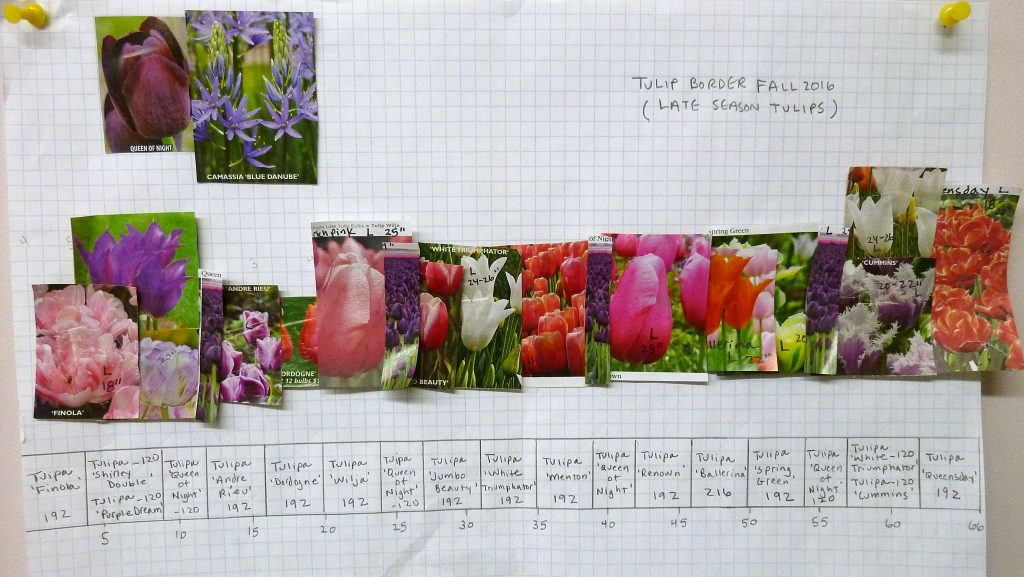
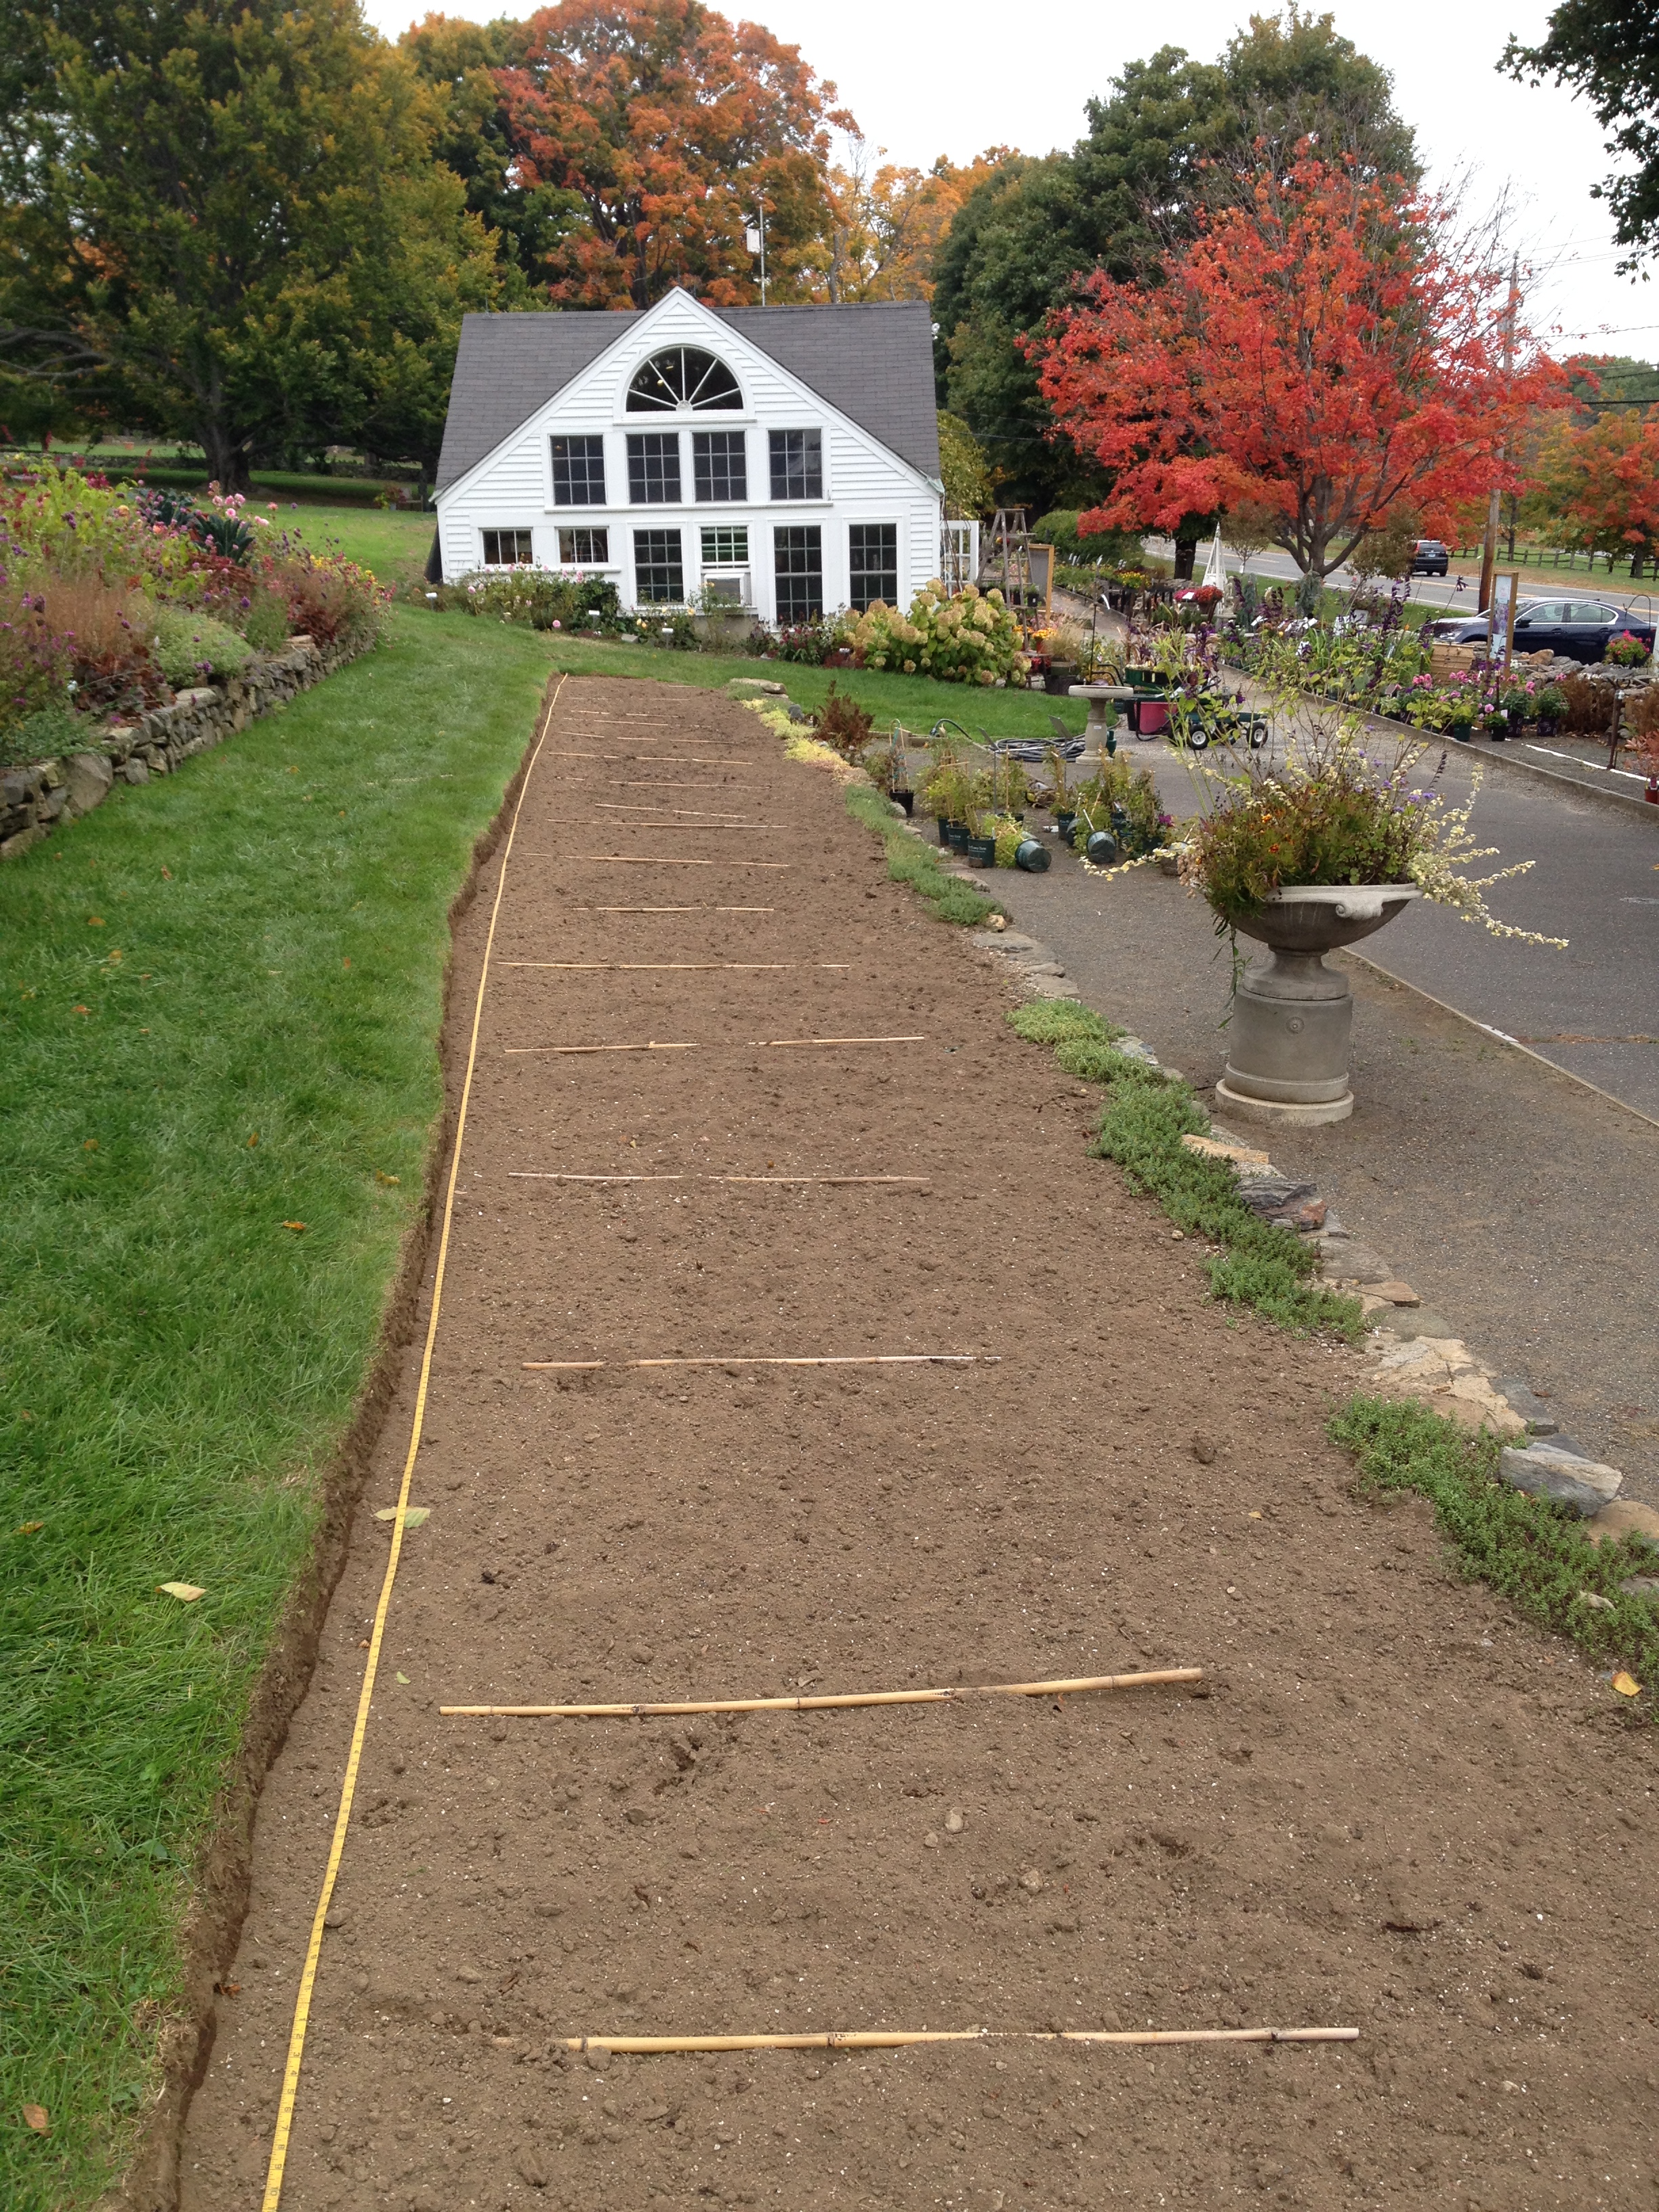
The garden is 5’ wide by 66’ long. I happily cram just over 3,000 tulip bulbs into this plot. A little bit of prep work happens before I actually begin planting the bulbs. With measuring tape outstretched alongside the border, I use bamboo canes to divide the garden up into sections as dictated by my planting map.
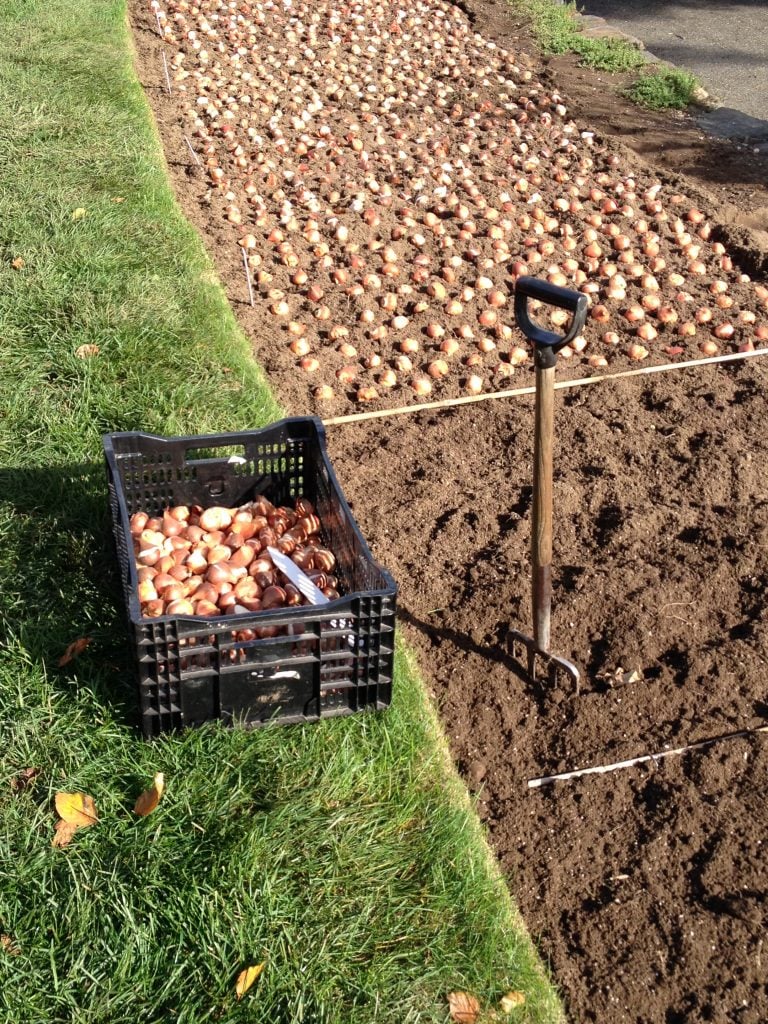
Then, starting at the north end, I employ the use of my garden fork, which is affectionately named “Favorite” because that’s what he is . . . my favorite. I don’t know what I would do without him. I dig a section or two of the garden, loosening the soil to make planting easier. After smoothing out the soil surface, it’s time to lay out the bulbs. Spacing between bulbs in this garden is on the close side usually no more than 4” apart. Remember I’m going for the drama in this garden so I want to plant as many bulbs as I can in order to reach my theatrical goal.
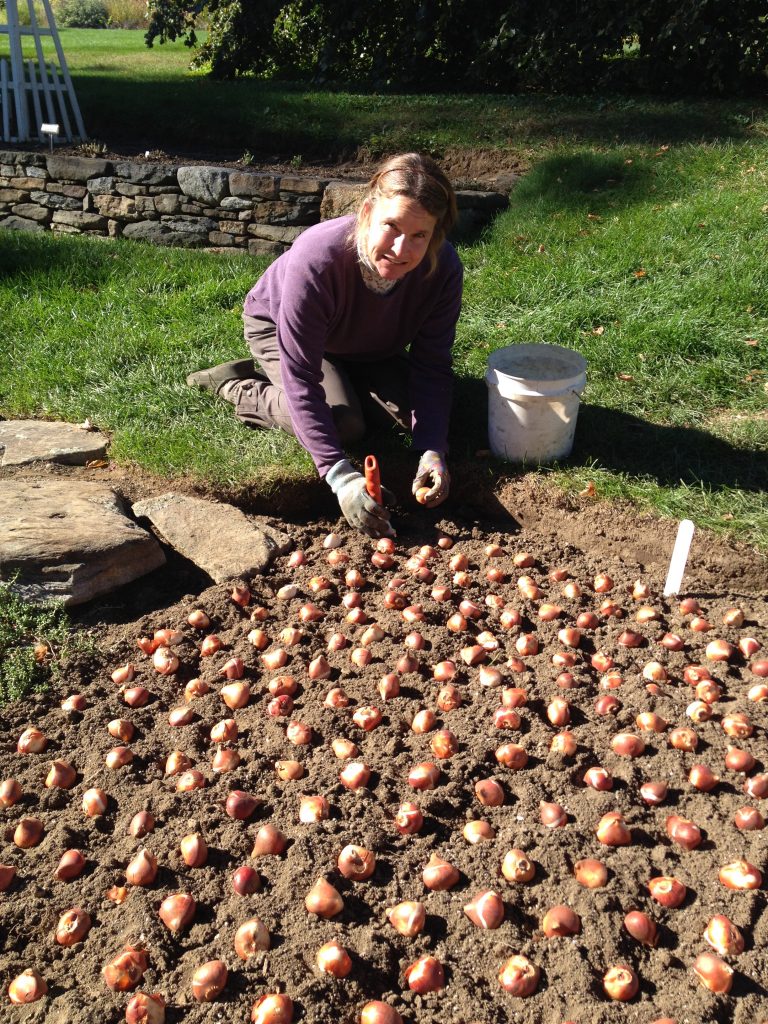
The next step is to sink those beautiful bulbs into the earth. I prefer to do this on my hands and knees using a trowel to dig each hole. The soil is loose so the digging is easy and being close to the ground saves my lower back from being achy. My little white bucket contains ground oyster shells, which are part of my defense strategy against the underground assaults of voracious voles against my precious bulbs. After digging a hole and dropping in my bulb, I throw in a handful of oyster shells. The oyster shells are scratchy to the voles’ hands and skin so my hope is to have them think twice about coming close to my tulip bulbs. Hopefully they will go elsewhere for dinner. I don’t put oyster shells in every hole because that would be a whole lotta shells. Instead I put them in the bulb holes on the edges of the planting area in an attempt to create a “barrier” of shells that the rodents won’t cross as they enter the garden from the rock wall or lawn. It’s not 100 percent foolproof but it does provide some protection.
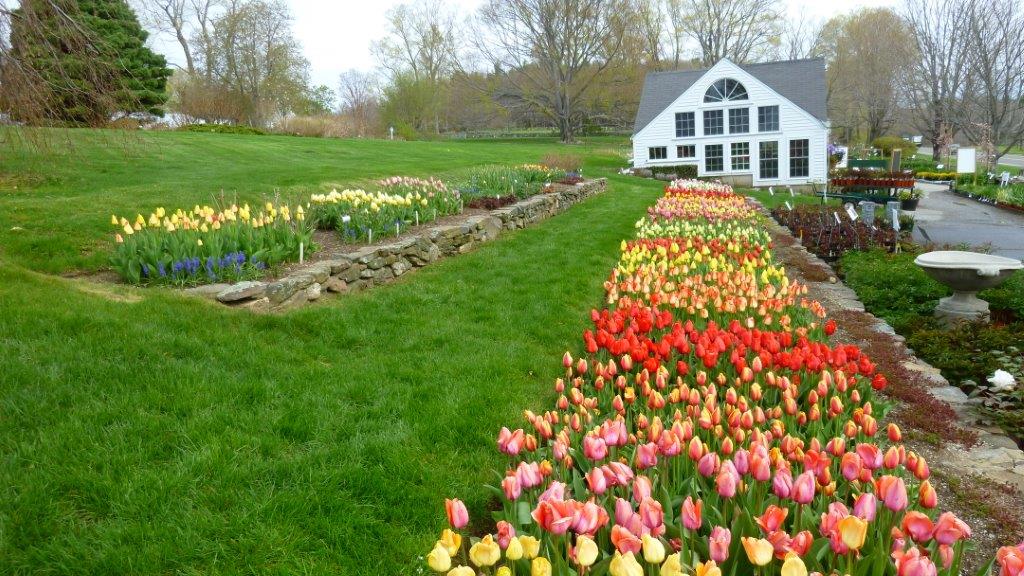
It likely will take a whole day and a half to complete the bulb planting but I don’t mind. I like to listen to the radio as I plant. Sometimes I will challenge myself to see how many bulbs I can plant while a certain song plays through and then I try to beat that number when the next song comes on. Time goes by quickly and before I know it, I’m all done. I stand up and stretch. Looking back at the border I squint and try to imagine the day next spring when all of those tulips will sing together and be in their colorful glory. I smile as I gather up Favorite and my trowel. On to the next bulb planting project . . .