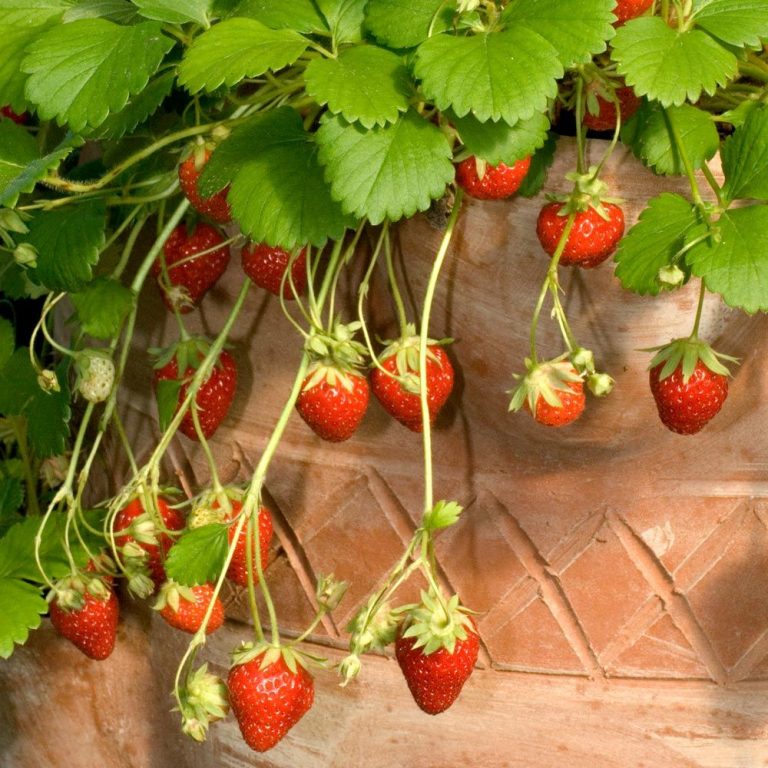
Woodland Strawberries are about the smallest you will find. But don’t let their diminutive size fool you. These oblong berries, each about the size of a small almond, pack a remarkable amount of flavor, a burst of true, scrumptious Strawberry that puts the taste of many bigger berries to shame. You won’t find woodland Strawberries at the grocery store for the simple reason that they don’t keep. They should be picked when deep red and ripe, and eaten right away. At the farm, we love the variety called ‘Red Wonder,’ which produces intensely flavorful berries all season long.
‘Red Wonder’ also has great value as a garden plant. It does not produce runners, which are common to many Strawberry plants. Instead, it grows in neat, low mounds. Strawberry ‘Red Wonder’ flowers all season long, but in a very hot summer, it may take a break before blooming again as the nights cool down.
1. Edge a Mixed Border
Our White Garden has for years featured a neat row of these ornamental plants.
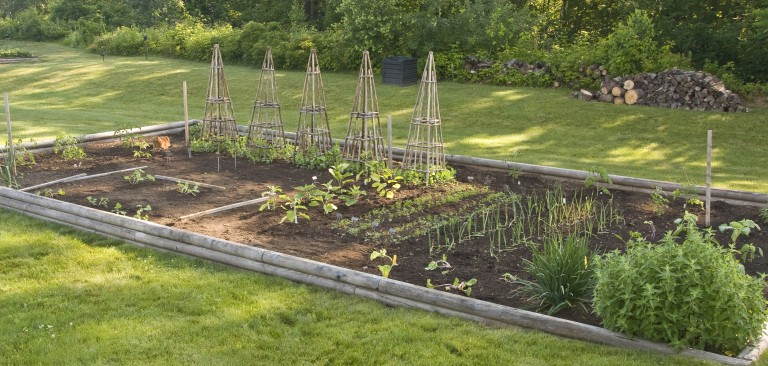
2. Edge a Vegetable Garden
We sprinkle a few of these berries atop our breakfast cereal in the morning.
3. Plant in Containers
Using a Strawberry Jar makes it easier to grow more berries since you can pick them from all sides of the container. We used Mara des Bois Woodland Strawberries in this Strawberry Jar.
4. Create a Strawberry Patch
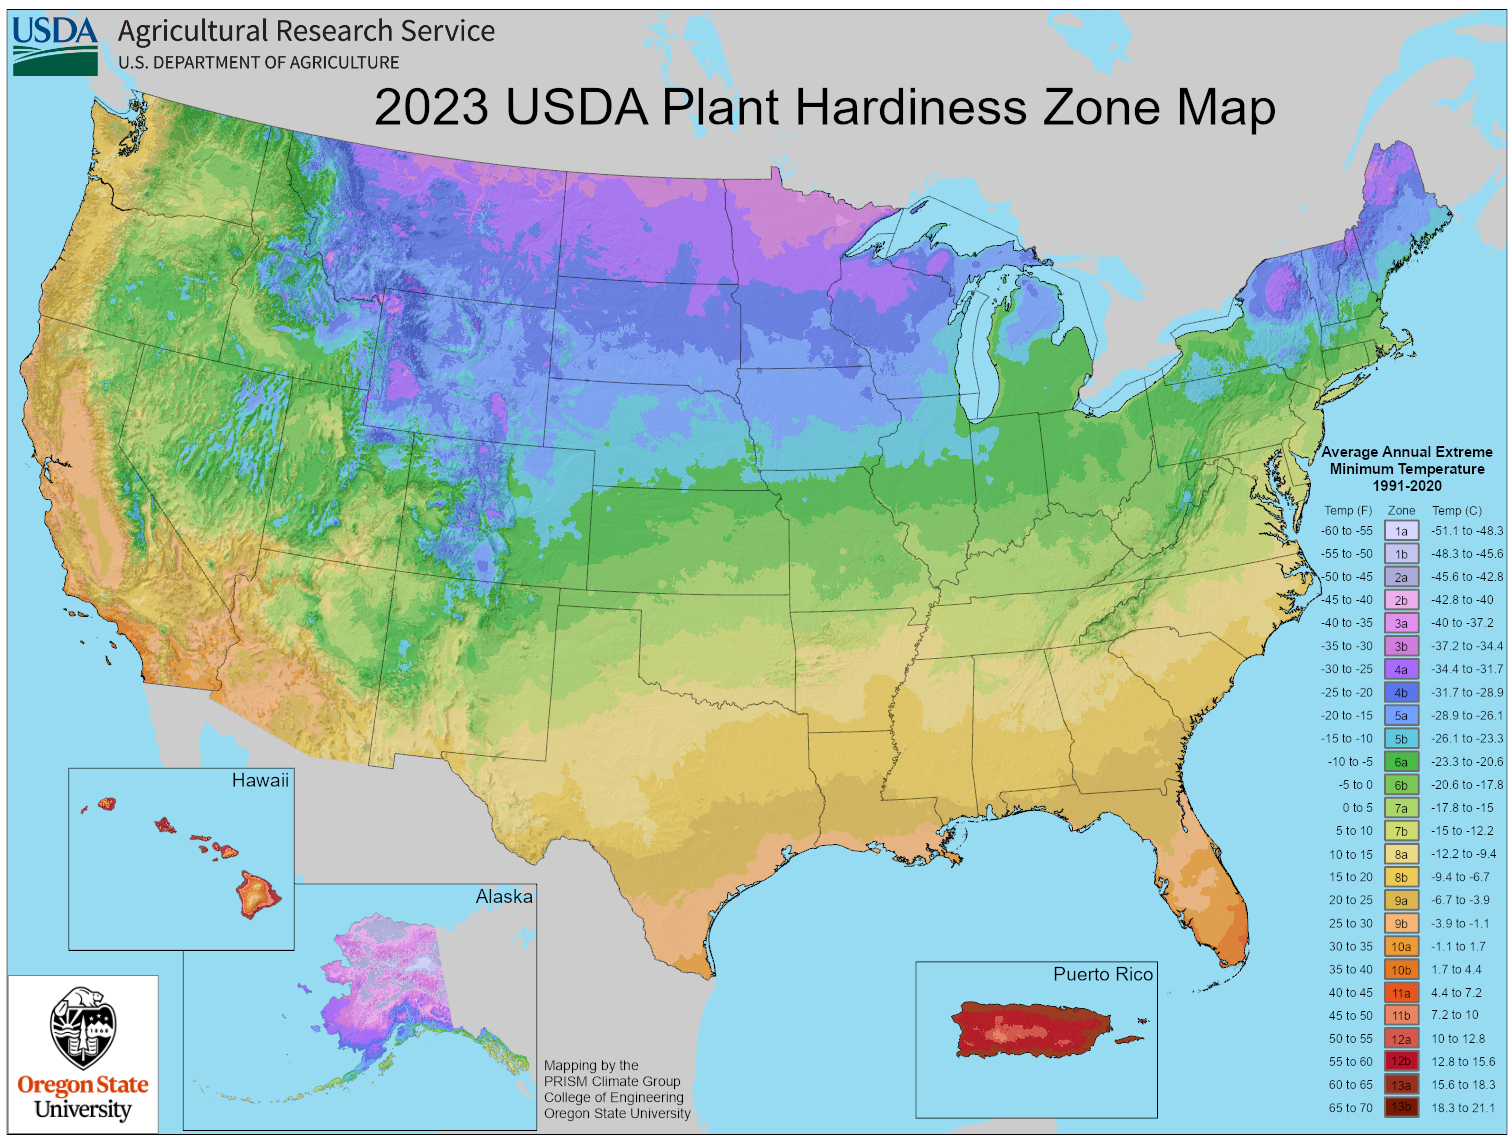
Strawberry ‘Red Wonder’ is perennial in zones 4-8, and will return year after year.
5. Line a Walkway
Plant these berries along your walkway in sun or part-shade and enjoy the cute white flowers and tasty Strawberries all season long.
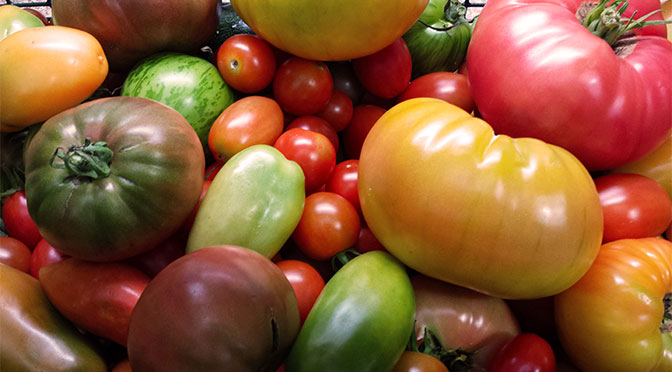
Some of the fruits of our colleague’s 2015 tomato harvest, rinsed and ready for cooking and freezing.
When it comes to growing tomatoes, it seems every gardener has an opinion about how to get the biggest and best harvest. A recent staff discussion focused on techniques for amending the soil prior to planting tomatoes. The idea is to give the plants all the nutrients they need to produce a bumper crop of tasty fruits, a practice that’s particularly important for gardeners whose plots are smaller in scale or whose properties make it difficult to rotate planting beds.
Last year, one of our staff members did a good deal of poking around on the Web, which, while sometimes a hazardous pursuit, inspired her to try some traditional but more recently underused ideas. She decided to take a few chances with amendments that are more common to the kitchen waste bin or compost heap than the nearest big box store. The result? She enjoyed her highest yields ever on a varied crop of tomatoes that ran the gamut from cherries and paste tomatoes to slicers and beefsteaks. She feasted on salads, BLTs, gazpacho, and stuffed tomatoes all summer and still had plenty of beautiful, ripe fruits for making sauce and roasting tomato wedges with basil (for a bruschetta topping). She froze chopped tomatoes to use in soups and chili recipes, and froze tomato sauce, as well as the aforementioned bruschetta topping. (We’ll be running these recipes later in the season.) Needless to say, she made some of us a little jealous with her wintertime lunches. Determined to enjoy similar results and to share her rediscovered techniques with you, we ran her list of amendments by our nursery manager Barb Pierson, another champion tomato grower. Pierson applauded some of our adventurous colleague’s amendments but voiced concerns about others. What to do? We thought it best to set it all down, and let you make your own decisions based on circumstances in your own backyard.
To begin amending the soil, start by digging holes about 15 inches deep (this is not your planting depth, but the space you’ll need for adding amendments).
Soil Amendments Used Successfully by Our Adventurous Colleague
Since Tomato plants are deep-rooted heavy feeders and thrive in highly organic soils, the ground must be well prepared with nutrients to sustain them throughout the growing season, optimizing growth and fruit development. Everyone has their own recipe for improving soil with organic matter, but here’s what our adventurous colleague tried with great results:
She dug deep holes (at least 15” deep, if possible. Note: this is not the depth for planting a tomato but rather it’s a hole deep enough to accommodate the amendments before planting). Into the hole, she added the following:
Fish heads, fish fillets from the supermarket freezer section, or a handful of fish and kelp meal help boost soil nutrients.
Fish heads (or frozen fish fillets, if you can’t get fish heads): Put 1 fish head or the equivalent in the bottom of each hole. You also can add a handful of fish and kelp meal to help boost the nutrients.
As winter shows signs of coming to an end, we begin collecting eggshells. Just rinse them and keep them a bowl in the refrigerator or in a protected outdoor space. Before adding to the soil, crush them with a potato masher or with your hands.
Crushed eggshells: These add calcium to prevent blossom end rot. Throw a couple of handfuls in each hole.
Here we add a handful of bone meal.
Bone meal: This promotes strong root growth and abundant blooms. Add a handful to each hole.
Compost and composted manure are great additions to the soil for tomatoes and lots of other plants. Compost adds basic nutrients and improves soil structure. Composted manure provides nutrients all season long.
Composted manure: This provides a slow release of nutrients over the growing season. Add a couple of handfuls to each hole.
Compost: It will add basic nutrients and improve soil structure so the soil drains well yet retains some moisture. Add 2-3 handfuls in each hole.
Combine all the ingredients, and mix!
Please note that the 15” hole will be partially filled with the amendments, which should then be partially buried by some of the soil in your garden (think of the hole as a big mixing bowl). This process of amending can be done prior to planting your tomatoes when the soil temperature is still on the cool side.
Pierson does not recommend fish heads or bone meal because “they would attract critters and most likely your plant will be dug up.” (It should be noted that a family of raccoons in the neighborhood of our adventurous colleague left her tomato plants alone, but depending on how many critters live in your area and how well your vegetable garden is fenced, you may wish to select and tailor your amendments accordingly.)
Pierson agrees that compost and eggshells add beneficial nutrients to the soil, but she isn’t sure the quantity of eggshells noted above would be enough to provide calcium throughout the season. Perhaps the thinking should be that that every little bit helps.
Pierson ends by saying, “Preparing the soil should focus on: Did you have problems the previous season? And practicing good sanitation [i.e. disposing of plants and clearing the garden beds] at the end of the season so that disease issues don’t start again. Moving your garden location is essential if problems were severe.”
But the main thing Pierson stresses for successful tomato harvest is soil texture. “Soil texture is important – turning the soil, adding high quality potting mix and focusing on drainage are very important. Roots need air to breath and to take up nutrients, compost creates air pockets in the soil. Having a light well-drained soil is the most important thing.”
So there you have it. An array of options, some or all of which are bound to improve your tomato yield. Our best advice is to take into account the conditions in your backyard and vegetable patch, and choose the amendments that work best for you. Some trial and error may be required, but that’s just the way things go in a garden. As Pierson put it, “I like the idea of trying things, that is what growing is all about. There are no right or wrong answers, only what works for you in your particular environment.”
The benefits and delights of growing Citrus indoors are numerous. For starters, these small trees with glossy green leaves are lovely to look at. When in flower, the scent of their blossoms is pure heaven. Then, of course, there is fresh, homegrown fruit to enjoy. A few easy tips will help you succeed in maintaining a healthy and productive Citrus plant.
When you receive your plant, do not be alarmed if it begins to drop flowers, fruit, and/or foliage, as this is the plant’s reaction to being shipped. Citrus plants need at least 4–6 weeks to acclimate to a new location and this acclimation can take longer if the plant is receiving less than 6 hours of direct sun per day. During this time, DO NOT fertilize the plant, as this will cause further stress. Once the plant is acclimated—which means the plant is able to produce and maintain new growth—you can begin fertilizing according to our recommendations mentioned below.
The juice of Key Lime (Citrus aurantiifolia) gives a sparkling tang to pies as well as Mediterranean, Mexican, and Asian recipes. (It will also spruce up any drink from ice-cold water to something stiffer.)
In most of the United States, these plants must be grown indoors, at least during the winter. Fortunately, their rootstock will keep them a manageable size (to no more than 4–5′ in a container), so they can summer on the patio and spend the winter in a greenhouse, an enclosed porch, or near a sunny, south-facing window. Move the plant outdoors in late spring if you’d like, but wait until the weather is warm and settled.
Gardeners in Zone 10 and warmer can grow Calamondin Orange and ‘Meyer Improved’ Lemon outdoors. ‘Meyer Improved’ Lemon is hardy in Zone 9 as well. Set the pot outdoors in a sheltered, lightly shaded spot, increasing the exposure to sun and wind each day. Check the moisture of the potting mix and water thoroughly if it’s dry. At the end of one week (give or take a day or two), your plant will be ready to go in the ground. Choose a spot for your plant that receives full sun (at least 6 hours of direct sun each day) and is protected from drying winds. Planted in the ground, our Citrus will grow approximately 10′ tall.
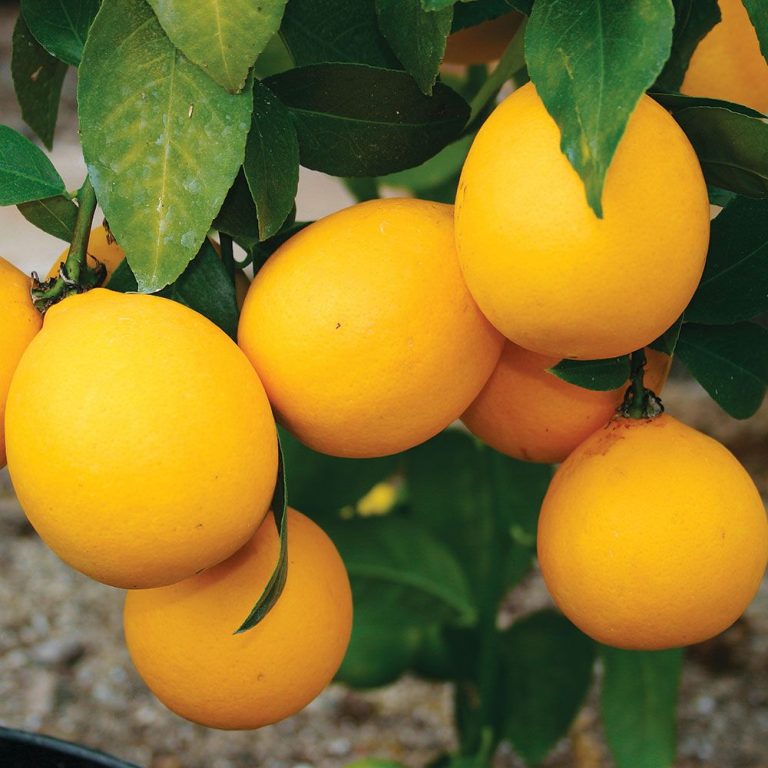
‘Meyer Improved’ is a hybrid between a Lemon and an Orange, which makes it a little sweeter than regular Lemons. It’s also a prolific bearer. You’ll enjoy the heavenly scent from luscious blooms followed by fruit in midwinter.
Since Citrus plants are heavy feeders, we include a nutrient spray and a slow-release fertilizer with all varieties. For the nutrient spray: Once your plant has acclimated to its new home (about 4-6 weeks from receipt of plant) and when it is warm enough to spray your plant outdoors in your area, add all of the product to 4 oz of water in a spray bottle (not included). Move the plant to a shady location and spray the leaves. Avoid spraying the blooms. Apply weekly until gone. For the slow-release fertilizer: Once your plant has acclimated to its new home (about 4-6 weeks from receipt), uniformly spread complete package contents on the soil at the base of your plant. Do not mix with water or apply to foliage.
Prune Citrus at any time of the year except winter. Pinch growing tips and cut back leggy branches to help a spindly tree fill out. Suckers (shoots growing from below the graft or emerging from the soil) should be cut back as soon as they’re noticed.
To learn more, watch our short video “How to Grow Citrus Plants” below.
The options for container pot edible gardening were once limited mainly to salad greens and herbs, but there is now a wide variety of plants that thrive in pots and smaller garden spaces.
For gardeners with limited outdoor space or the desire to harvest fresh fruits and vegetables a few steps from the door, container pot gardening is a great way to go. While the options for container pot edible gardening were once limited mainly to salad greens and herbs, there is now a wide variety of plants – from Tomato varieties to Peppers and Eggplants – that thrive in pots and smaller garden spaces.
Growing vegetables in containers can be done in any location that has 6-8 hours of sun per day.
The benefits are obvious: There’s no need to dig and prepare a garden bed. Gardeners enjoy easy access to the pots for watering, fertilizing and harvesting. Containers can be moved to suit the needs of the plants or the gardeners. And, best of all, there’s no weeding.
There are a few obvious drawbacks: Some varieties of vegetables such as large pumpkins cannot be grown in containers. And more water and fertilizer is needed to produce a good harvest in a container. But the extra bit of effort is worth the reward of a delicious harvest.
To start a container garden of edibles, here are 9 steps to get you started:
Keep in mind that the pot or pots you select must be large enough to hold soil and the roots of whatever plant or plants you wish to grow.
1. Choose Your Pot
Keep in mind that the pot or pots you select must be large enough to hold soil and the roots of whatever plant or plants you wish to grow. Tomatoes and vining crops produce best in containers that are at least 20–22” in diameter. Peppers can go a little less at 16” diameter. Greens such as Lettuce prefer a broad flat pot such as a large bowl-shaped container.
Drainage is imperative! Make certain that each pot has several holes in the bottom. It is NOT necessary to put stones in the bottom of the pot.
As long as there is drainage, pots made of almost any type of material will work. Fiber pots work well but are not decorative. There are many plastic pots that are decorative, functional, and lightweight. I prefer something that’s easy to move and to empty at the end of the season.
Use a lightweight, high quality potting soil and mix it at 2/3 potting soil to 1/3 compost.
2. Soil
Use a lightweight, high quality potting soil. Never try and use garden soil from your yard. After you have purchased your potting soil, mix it at 2/3 potting soil to 1/3 compost. This mixture allows the plants to retain moisture and nutrients. Types of compost can include: leaf mold compost you have made, dried aged manure, or shrimp and seaweed compost. I create a mix in a wheelbarrow or garden trug. Lightly water the mixture before placing it in your pot so the peat moss in the mix isn’t too dry.
When filling your container, firm in the soil without compacting it too much. Unpot your vegetable plant and place it in the center, if you wish, or spaced with other plants if you’re creating a combination. Add more of your container mix, pressing down gently and adding more soil until the pot is filled to about 2-3” below the lip. Always leave space at the top to create a watering reservoir.
3. Planting Depth
This is key. For Tomatoes, remove the lower leaves and plant the Tomato deep in the soil. Roots will form along the stem. (The only exception is Grafted Tomatoes, which should not be set in soil below the graft line, which is generally marked with a tie or piece of tape.)
For Cucumbers, Squash, Lettuce, Eggplant and most other vegetable starts, plant at soil level.
Pepper ladders (shown here) or Tomato cages can be used to support smaller Tomato plants, Peppers and Cucumbers.
4. Support
Tomato cages can be used for smaller Tomato plants, Peppers and Cucumbers. Cone or pyramid-shaped trellises usually work better than flat types. Chicken wire can be bent and used to make a cage. A few stakes can be placed around the perimeter of the pot to form a teepee.
Pot platforms or deck protectors can be used to move your pots around, protect your patio or deck, and allow air to circulate and water to drain from the pots.
5. Watering
Container plants in full sun need to be checked every day. Using organic compost will help reduce the need, but the hot sun will require that you check your plants daily. The best way to see if your plants need water is to stick your finger in the soil. If it’s dry to the touch below the surface ½” or so, it’s time to water. Learning to see signs of wilting is something that will happen as you grow plants every season. Look for the plants to be flagging a bit, or for the soil to begin separating from the sides of the container. Those are signs your plant needs water. But overwatering can also be a problem, in particular for Tomatoes and Peppers, so make sure you observe carefully and do not water during cloudy or rainy weather unless you see that the soil is dry under the surface.
Tomatoes and Peppers need regular watering and feeding while they’re growing, but when the fruit starts to mature, it’s important not to overwater or over-fertilize as this will cause your fruit to be susceptible to disease and reduce the flavor.
6. Fertilization
After the vegetables have settled into their new pots and new growth can be seen, it’s time to fertilize your plants. If your potting soil has slow-release fertilizer, you should wait at least several weeks before adding more. Use fertilizer at the rates recommended on the label. There are many organic and synthetic fertilizers on the market, and some of them specifically are for vegetables. If you use a fertilizer that is higher in phosphorus than nitrogen and potassium, it will promote more fruit. Read the labels carefully and apply what’s recommended regularly – in particular if you are watering often and the plants are actively growing prior to harvesting, make sure you are feeding. Hot sun and frequent water will leach out valuable nutrients.
7. Staking, Tying and Pinching
Stakes should be inserted into your containers at planting time. As the vegetables grow and produce fruit, tie the large branches so they have support but aren’t girdled.
To fully understand Tomato pruning, visit the Fine Gardening magazine website, www.FineGardening.com, and enter “tomato pruning.” They offer a detailed explanation of the process.
8. Insects and Disease
Prevention is the best organic method of pest control. Proper watering techniques avoid most issues with vegetables and herbs. Fertilization, full sun and air circulation are also imperative. If you do have insects or disease, use organic control measures such as horticultural oil and insecticidal soap.
9. Harvesting
Each type of vegetable has specific harvesting techniques. For Tomatoes, allow them to ripen to their mature color and feel the fruit to make sure it has soft give to it. Some varieties twist off easily when they are ready to be picked. Know the mature color and age, and resist the urge to pick too early!!
FAVORITE HERBS FOR CONTAINERS
Many herbs, such as Mint, Thyme, Oregano, Sage and Rosemary do well in containers.
Mint
Always plant Mints in pots! It’s very invasive in the garden, but so good for drinks and as a garnish. Plant in large pots with plenty of soil depth. Mint needs quite a bit of water so make sure you check it and add compost to the potting mix for better water retention.
Thyme
Thyme is pretty and creeping so it cascades nicely over the rim of a pot. Use a shallow container because Thyme has a fine root system and is prone to root rot when given too much soil.
Parsley
Cut Parsley often to keep it from flowering or “bolting.” (If it does bolt, it tastes terrible.) It’s best planted in a large pot.
Sage
It can easily be overwatered so plant it in a container that is medium depth or shallow and has good drainage. To promote drier conditions, don’t add too much compost.
Oregano
Delicious and aromatic, this is a fairly aggressive grower so use a large pot and treat it like Mint.
Rosemary
This favorite can be quite tricky when it comes to watering. Too much water, and it’s unhappy, not enough and it’s equally unhappy. Take care when combining it in a mixed container and be sure you have good drainage!!
FAVORITE TOMATOES FOR CONTAINER POTS
Note: Many of these are compact varieties. Some are “determinant” plants, which means they do all their fruiting in one flush.
Many compact or dwarf varieties of vegetables are ideally suited to smaller quarters, but they can also be planted in small spaces in vegetable gardens.
FAVORITE VEGETABLES FOR CONTAINERS
Note: Many of these are compact or dwarf varieties that are ideally suited to smaller quarters. They also can be planted in small spaces in vegetable gardens.
With the vegetable gardening season in full swing, we checked in with our Nursery Manager Barb Pierson to get some helpful tips on caring for edibles plants to encourage plant health and maximum yields. Here’s her advice:
Early Summer in White Flower Farm’s Kitchen Garden
Watering
In general, with tomatoes and most other edibles, you want to water the soil, not the plant. “You’re also supposed to do it in the morning,” Pierson says, because that allows any leaves that do get wet to dry in the sun during the day, but not all of us have time to get the watering done in the morning so, if need be, do your watering later in the day, being careful to keep the foliage as dry as possible.
“If you have drip irrigation, do not run it all day, every day,” Pierson says. The flavor of tomatoes is vastly improved by letting the soil dry out a bit. If you keep the hose going, “you’ll have water bombs instead,” Pierson says. “A little bit of flagging in the plants is OK. They get a silvery color, and they start to droop just a little bit.” That’s when you water.
TOMATOES
Pruning Tomato Growth
Pruning
“Everybody does something different,” Pierson says. Once, on a visit to a local botanic garden, Pierson saw tomato plants that “didn’t have a leaf left on them,” she laughs. “I said [to the staff], ‘What are you doing to these plants?’ They told me the fruit is better if it’s not shaded, but I’ve never found that to be true.”
This is what good tomato hygiene looks like. The base of the stem is free of leaves and suckers.
The important thing, Pierson says, is to practice good tomato hygiene, removing leaves that are touching the ground to prevent soil from splashing up onto the foliage and possibly conveying diseases. This is particularly important if you’ve had disease problems in the past, she says.
As you snip off leaves, be careful to leave a stub of about ½”. This prevents cutting into the main stem, which is something that hurts the plant and can open it, literally, to problems.
Pinching away foliage — especially leaves and suckers that are close to the ground.
Higher up on the plants, “you can thin the plant for better air circulation, which helps with fungal problems,” Pierson says. “Cut some leaves and non-fruiting branches.” If it’s a rainy summer, the need to promote air circulation is particularly important.
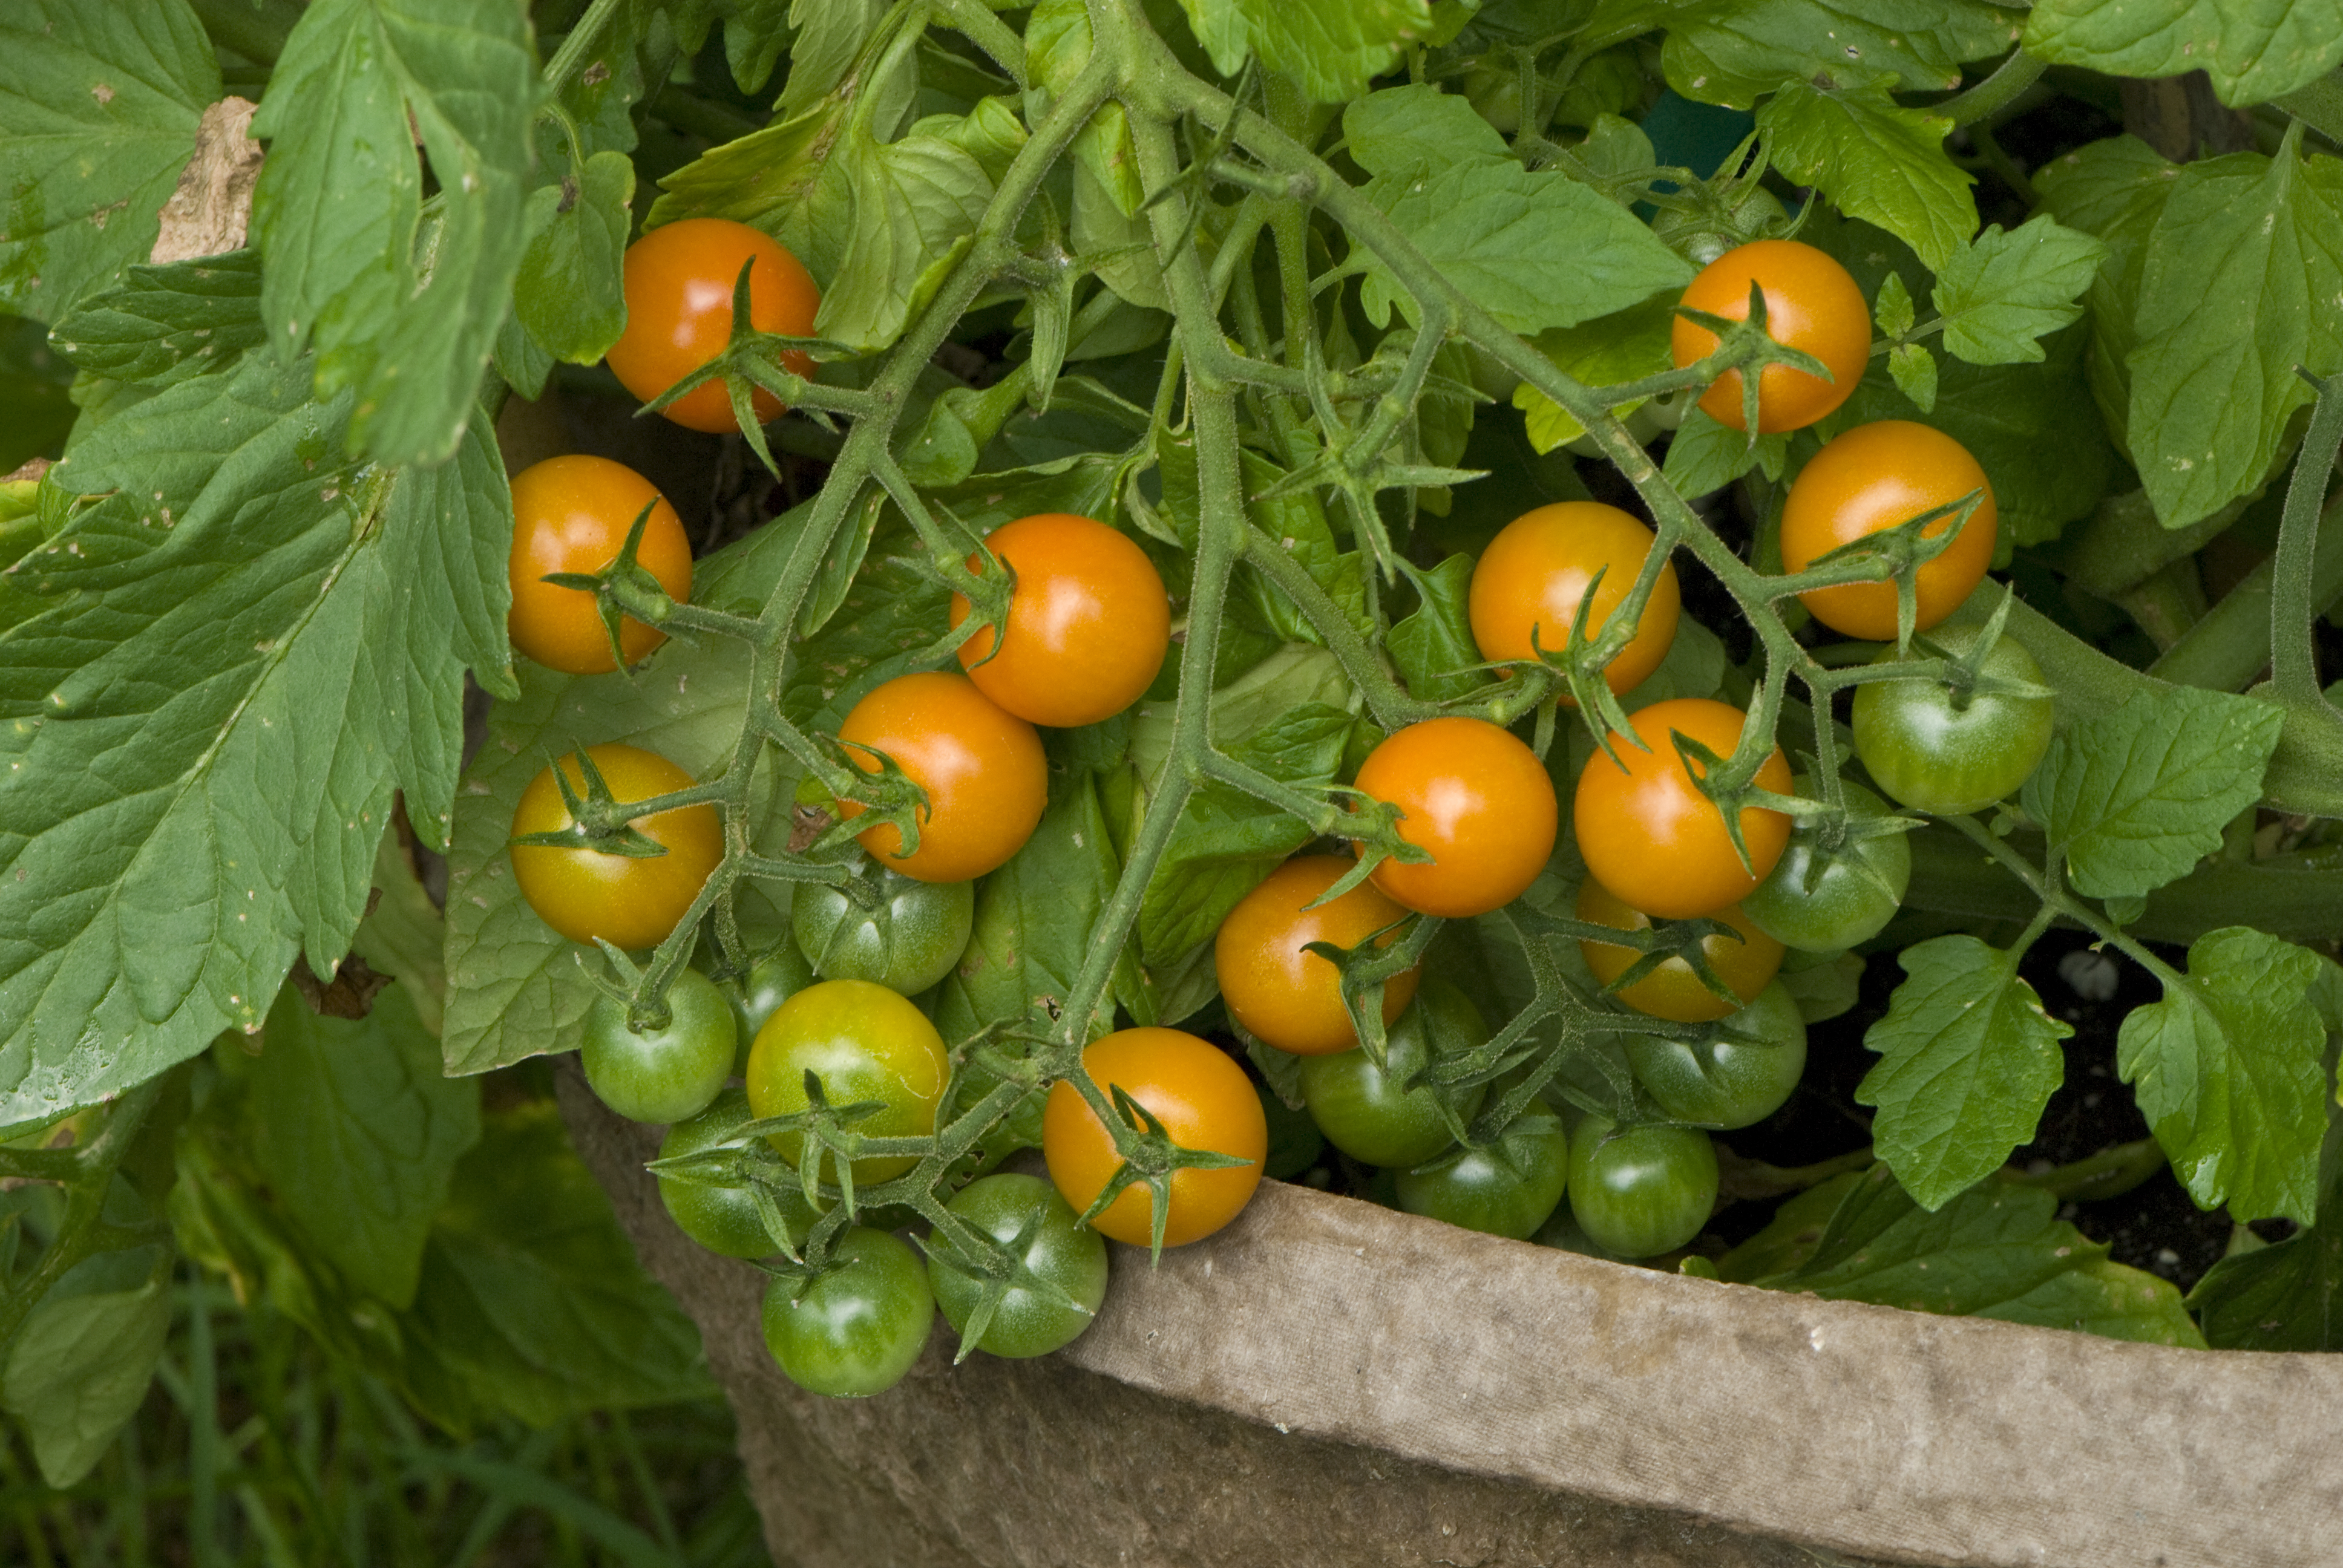
Pierson occasionally prunes to control the size of indeterminate tomato plants (the varieties that tend to sprawl all over the place). “When your ‘Sungold’ is 8 feet tall, you’re going to lop it,” she says. “For purposes of supporting the plant, you might also prune it.” But topping a tomato plant may mean you’ll lose some fruit, so think twice before you make a cut. “Any time you prune the plant, you’re possibly reducing production,” she says.
Feeding
At her house, Pierson plants most of her tomatoes in container pots, using a mix of 2/3 potting mix and 1/3 compost. “That’s heavy to compost,” she says. When she plants them in raised beds or garden beds at the farm, she also prepares the soil before planting by working in lobster compost, which helps condition the soil while adding vital nutrients. [To see our recent post on adding nutrients to the soil before planting tomatoes, scroll down.]
If you’ve amended your soil properly before planting, feeding your plants with fertilizer is optional. “The compost is doing most of the work,” Pierson says.
If you haven’t amended your soil, or even if you have and would like to give your tomato plants an extra helping of nutrients, you can use fertilizer for what Pierson calls “a boost that will help get heirlooms and cherries into fruit and flower sooner.”
In areas of the country with a short growing season, this is especially important.
Choosing which fertilizer to use depends on your preferences and your growing conditions. Pierson has always relied on White Flower Farm’s All-Bloom Fertilizer, a 15-30-15 formula that’s high in phosphorus for root growth, and micronutrients. One of the bonuses is it won’t attract critters the way fertilizers that smell like fish sometimes do. The key here is trial and error to see what works best in your garden.
Fertilizer helps promote “more fruit set and earlier fruit set,” Pierson says.
Pierson lets tomato plants grow in the ground or in container pots for approximately 3 weeks before feeding them for the first time. Then she’ll feed roughly 2 to 3 more times before the plant is actually producing. “When the plant sets its fruit, back off feeding,” she says. “Back off water and back off feeding once the plant is covered in fruit. Too much water, and your cherry tomatoes will be cracking.” Excess water also invites diseases.
“Never feed after mid-August,” Pierson says, because it’s the equivalent of offering someone caffeine before bedtime. At that time of year, “the plants are sensing the shortened day length. They honestly don’t need anything else.”
Pests & Diseases
Septoria Leaf Spot of Tomato. Photo courtesy of Missouri Botanical Garden.
Septoria
A fungus that manifests itself as brown spots on leaves, Septoria is one of the most common conditions that can afflict tomato plants. It begins on the lower leaves and spreads upward. “If you’ve had septoria in the past, when the plant gets to be 24” tall, remove all foliage that’s touching the ground,” Pierson says. This prevents soil from splashing up onto the leaves and possibly introducing diseases.
For more detailed information, visit the excellent Missouri Botanical Garden website here.
Blossom end rot, photo courtesy of Missouri Botanical Garden
Blossom End Rot
These brown spots at the base of tomatoes may indicate a calcium deficiency. “Calcium can be there in the soil and be unavailable because of soil pH,” Pierson says. “If you have a history of having blossom end rot, make sure you’re making the calcium available. It means the soil is too acid, so put in granular lime in a feed-the-chickens kind of manner [or what amounts to a couple of tablespoons].”
Other problems, including the moisture level of the soil and improper or excessive fertilization, also may cause blossom end rot.
Hornworm covered in the cocoons of a parasitical wasp. Photo by Barb Pierson.
Hornworms
“If you see a branch with no leaves, it’s probably hornworms,” Pierson says. The bright green, chubby insects are sometimes hard to spot because they blend in so well with tomato stems and foliage, but the worms have diagonal white stripes on their sides and a spiked horn near their tail ends (hence the name). To rid tomato, eggplant, and pepper plants of these foragers, “just pick them off,” Pierson says. You don’t want to spray or use chemicals because you’ll be eating food from these plants.
If you see a hornworm covered in what appear to be tiny white specks, those are the white cocoons of the parasitic braconid wasp, which eventually kill their host.
“Cucumbers are water hogs,” Pierson says. “If it’s hot and dry, you’ve got to water.” Apart from that, cukes require very little maintenance. “Let them climb,” Pierson says. Pick the fruit, and when the plants subside, generally in the high heat of August, “just pull them out.”
SQUASH
A host of plants, from Phlox to Lilac, are susceptible to powdery mildew. Squash is another. Pierson recommends the “old-time” milk treatment, which involves diluting 1 part milk (any type from whole to skim) in 2–3 parts water and spraying it on the plant until the leaves are dripping. “It changes the pH of the leaf so it’s not as favorable for the powdery mildew to spread. Do it preventatively and then once per week. Reapply after it rains.” Pierson confesses that she doesn’t bother with the milk treatment because the squash fruits are fine regardless of the mildew. The milk treatment “comes under the heading ‘Too Much Work,’” she laughs.
Squash vine borer. Photo courtesy of Missouri Botanical Garden.
Squash borers are another story. “The borers will work their way into stems and small fruits, and start to grow. The squash turns brownish, and it will fall off and die,” Pierson says. The remedy? While there are a few measures that can be taken to stop the borers, most are tedious and time-consuming. Barring the use of chemicals on your edibles, you might prefer to pull the plants, disposing of them completely (do not compost) and leaving the soil open to birds who will help clean it.
Keep cutting lettuce for a “cut-and-come-again harvest to avoid early bolting,” Pierson says. Lettuce generally won’t bolt “unless it gets super hot. If it bolts, remove it, and plant fresh seed. You’ll have good lettuce in the fall if you re-seed in mid-August.”
EGGPLANT & PEPPERS
Eggplant and Peppers require little maintenance, perhaps just some staking as their branches, laded with fruit, get heavy.
One tip for next year: both eggplant and peppers “love to be planted in the collapsible potato bags,” Pierson says. The black bags get warm in the sun, making the soil warmer than it is in most garden beds. “They like hot roots,” she says.