With Matt Scace, Grower for the White Flower Farm Store
The gardening season is about to get underway in the Northeast, so it’s a great time to clean the garden tools.
Up at the farm, we asked Matt Scace, grower for the White Flower Farm Store, to walk us through the steps. For starters, he points out that there are a lot of different tools that would appreciate attention: axes, edgers, shears, hoes, swoes, shovels, trowels, pick mattocks, forks, and saws. For purposes of this post, we’ll concentrate on one of the most commonly used garden tools: pruners. The same techniques used to clean and sharpen pruners can be applied to lopers and the blades of some other garden tools as well.
To begin, the materials you’ll need to clean and sharpen a pair of pruners are:
dish soap, a nylon scrubby sponge, a whetstone or sharpening stone, a few drops of oil (any kind will do, from canola to WD40), a rag or paper towels, and a bit of elbow grease.
Step #1: Soak or Oil Your Stone
Some whetstones and sharpening stones require that you soak them in water for a period of time before use. Others require a few drops of oil. Follow the instructions that came with your stone. Soaking or oiling “prevents teeny, tiny bits of steel from getting stuck in the stone,” Matt says. “It’s the way oil works in a frying pan.”
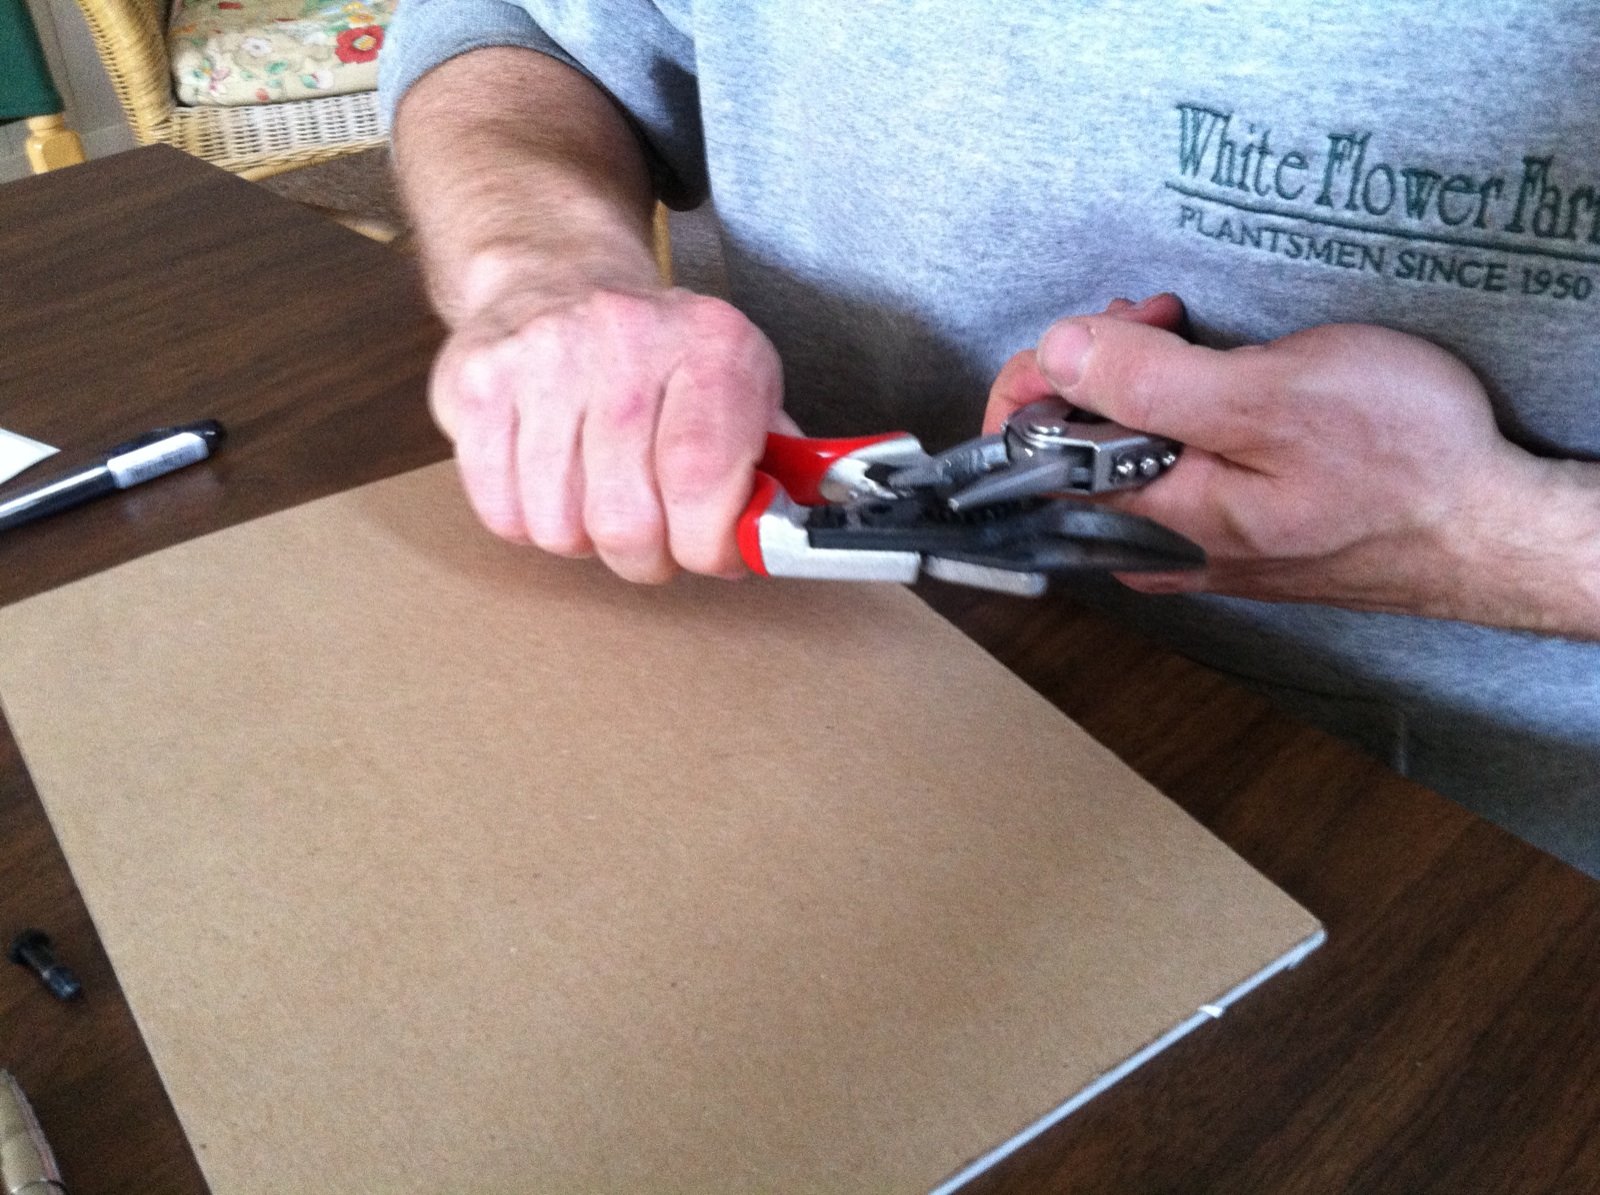
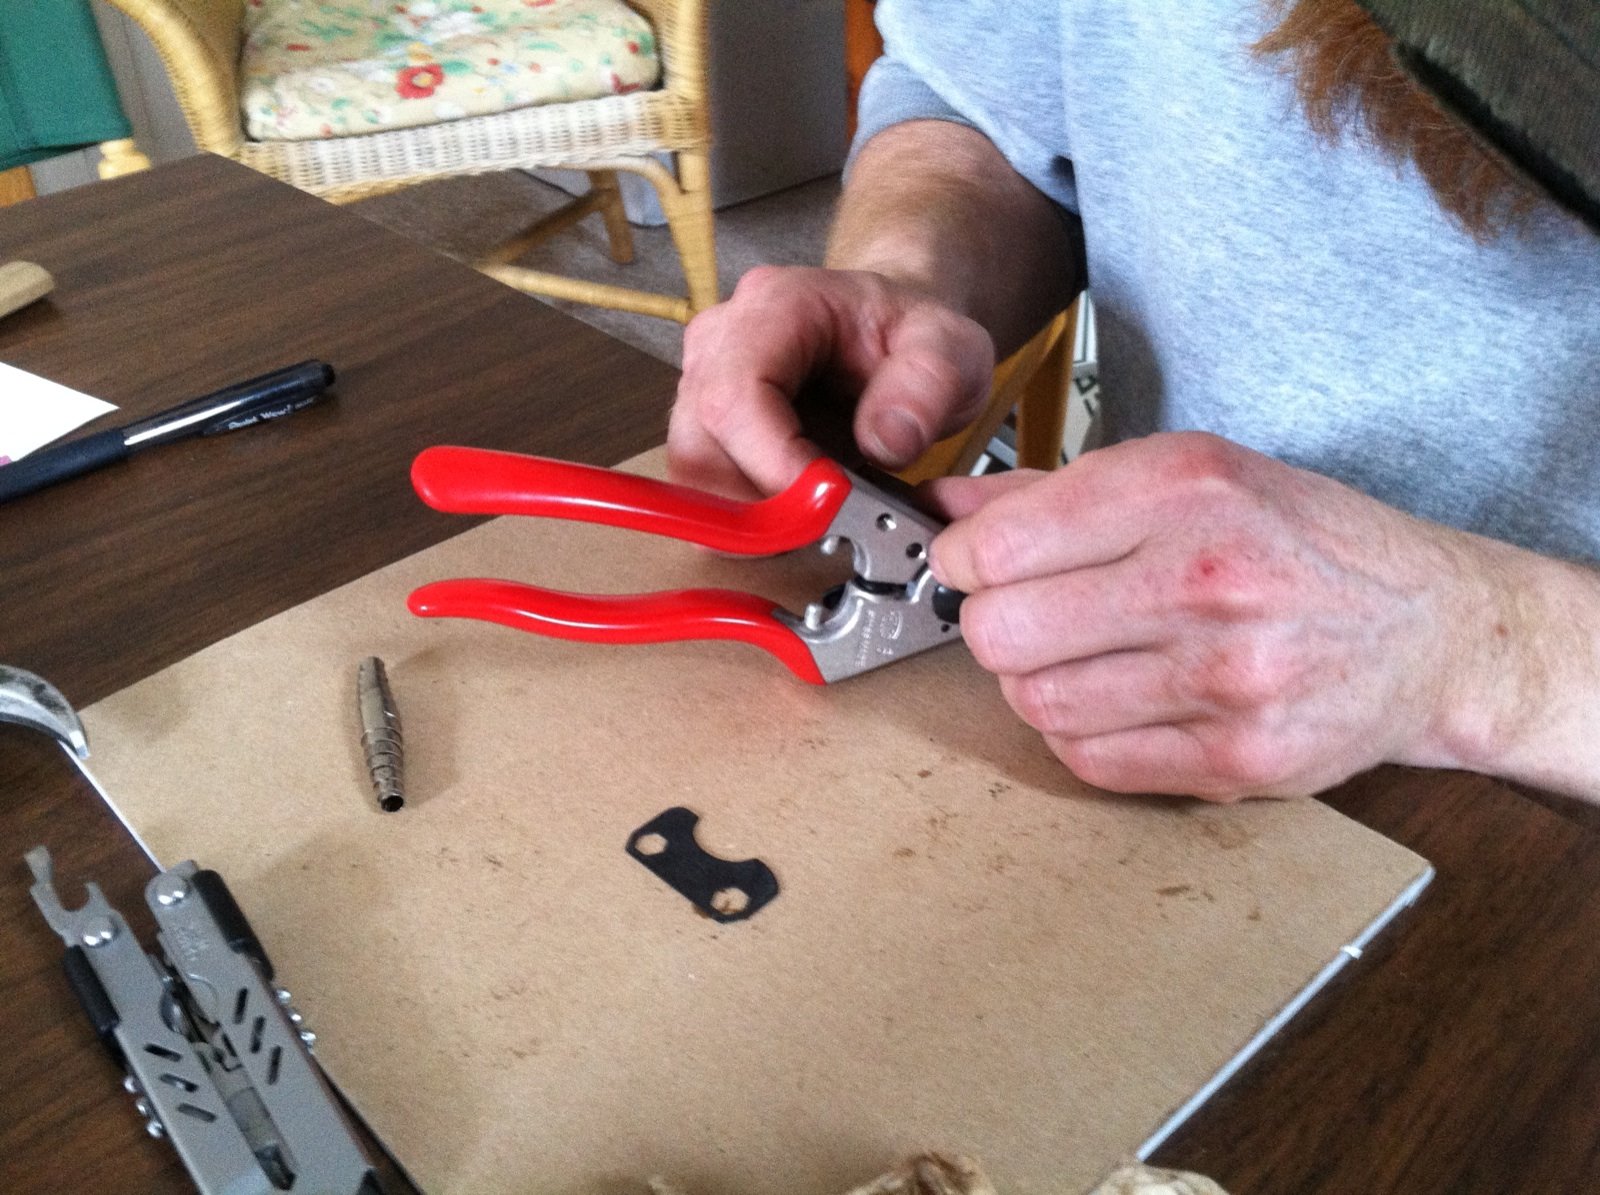
Matt uses an all-in-one-tool to disassemble his Felco pruners.
Step #2 (optional): Disassemble Your Pruners
This step is optional because not all pruners or garden tools are designed for easy disassembly. Tools that don’t encourage disassembly should be left intact.
Well-made pruners, including the Swiss-made Felco models preferred by most of our garden staff, are easy to take apart. Disassembling should be done whenever possible because it’s the best way to clean and sharpen the full blade and to clean the interior junction where the blade pivots.
To disassemble: use a screwdriver, all-in-one tool, or, in the case of Felco and some other brands, the mini-wrench or disassembly tool that comes with your pruners. If you’re afraid you might not be able to put your pruners back together again, Matt has great advice: “Take out one screw, and take a picture with your cell phone. Take out another screw, and take another picture with your cell phone,” and so on. That way, you’ll have a visual record of how to put everything back together.
While you disassemble your pruners, take care to set the parts on a clean, uncluttered surface so nothing gets lost. For his demonstration, Matt used the back of a legal pad.
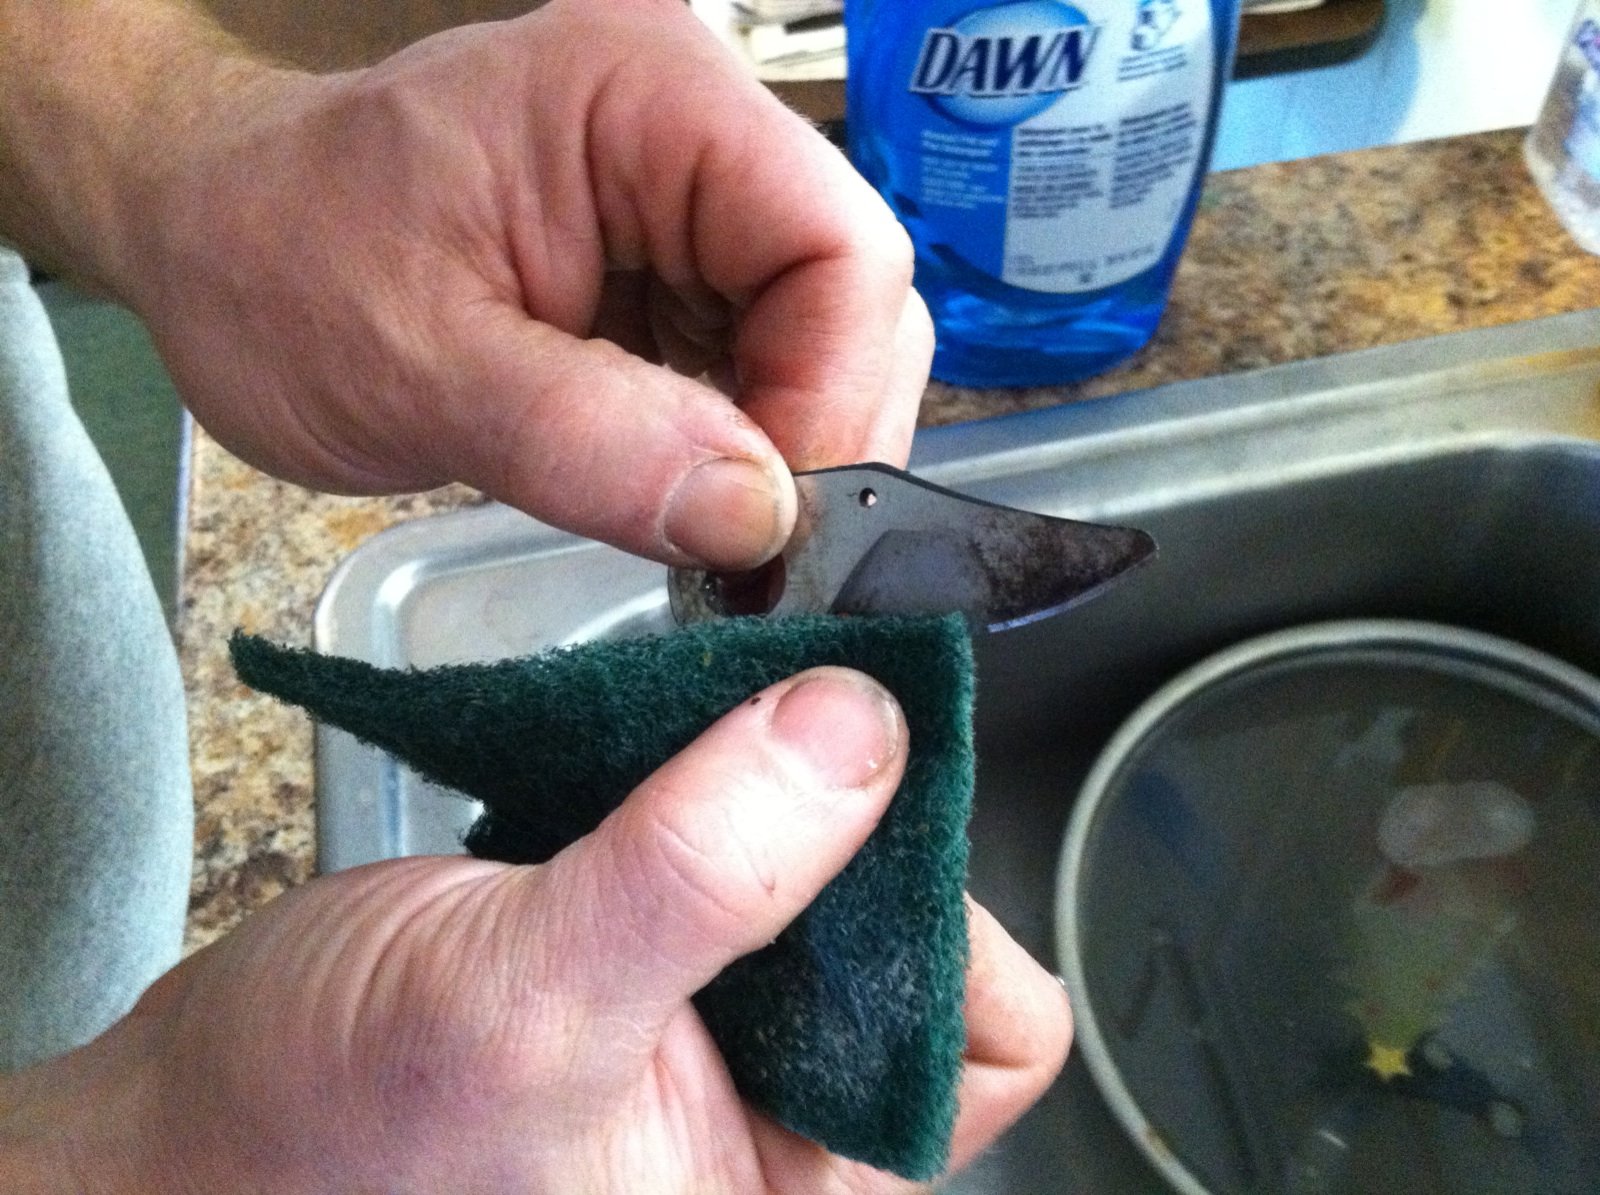
Step #3: Dish Soap & Water
Washing your blade is next. If you’ve disassembled your pruners, carry the blade to the sink. (If you didn’t disassemble, give the whole tool a bath. It won’t hurt anything as long as you dry the pruners thoroughly and coat the metal parts with oil later, but we’re getting ahead of ourselves . . .)
Under warm running water, Matt uses Dawn dish soap and a nylon scrubby sponge to clean the blade. The results are rather remarkable. The blade emerges shiny, and looks almost new. Cleaning the blade not only removes grit, sap and dirt, it also enhances your view of the blade’s beveled edge. Taking care of that is the whole point of sharpening, which comes next.
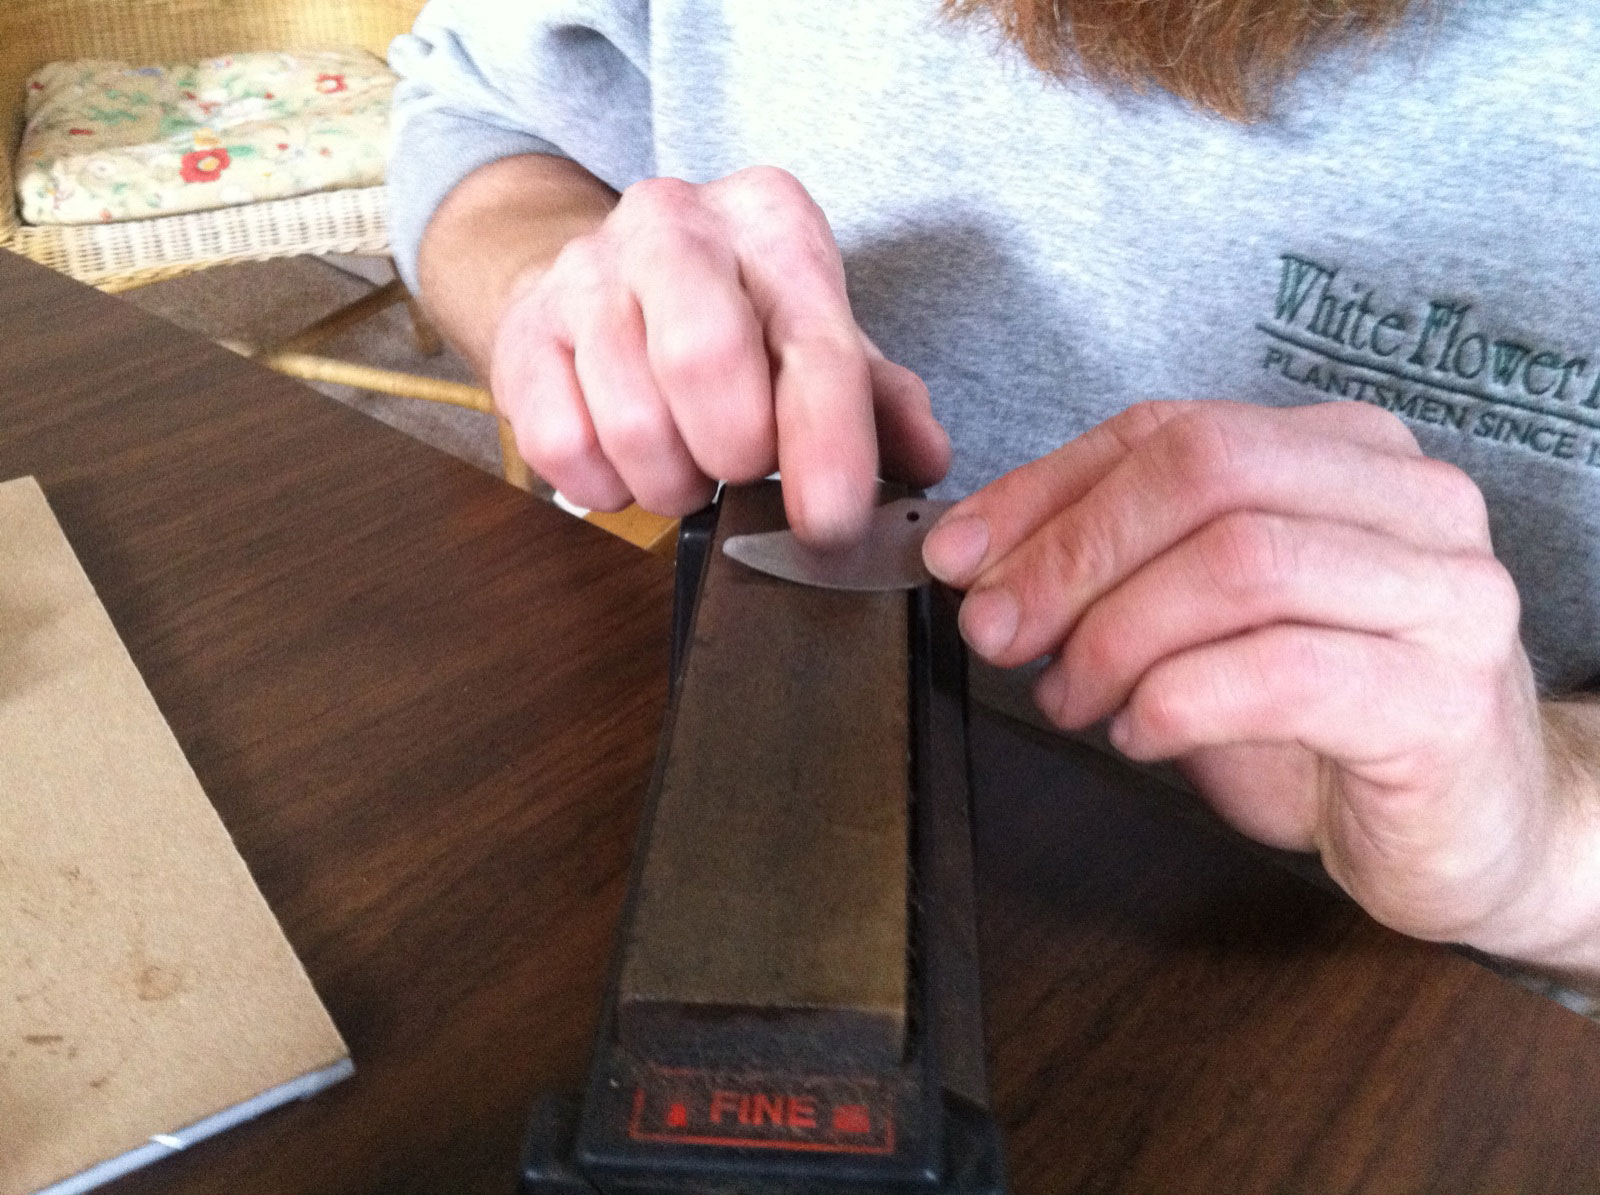
Matt holds the blade at the angle of the bevel as he rubs it down the sharpening stone.
Step #4: Sharpening the Blade
“The bevel on any blade is the angle at which it is ground at the factory,” Matt says. “If you look straight down on the blade of a food processor, the shiny part is the bevel. The purpose of sharpening is to maintain the existing bevel on a blade. While sharpening, you are essentially grinding along that existing bevel.” It’s important to sharpen while the bevel is easy to find, Matt says. “If you wait until you can’t find the bevel, you’re in a bit of trouble.”
Sharpening techniques vary, and they may depend on the size and shape of your whetstone or sharpening stone. Place the stone and blade in contact, and “feel for the angle,” Matt says. When you’ve found it, move the blade gently against the stone (or the stone against the blade, depending on the type you have) so abrasion begins to sharpen the edge. “Some recommend using a circular motion,” which means moving the blade or stone in small circles along the bevel, Matt says. Others run the blade down the stone in a linear fashion. The key is to maintain the angle of the beveled edge. Check your progress as you go. In the places where you’ve rubbed the blade against the abrasive stone, the blade will appear shinier. Make sure the shine corresponds to the factory-made bevel. You can check the sharpness of your blade by cutting a piece of paper: Hold the paper in one hand and slice at the edge with the blade. The blade should cut into the paper, creating a shred that curls away.
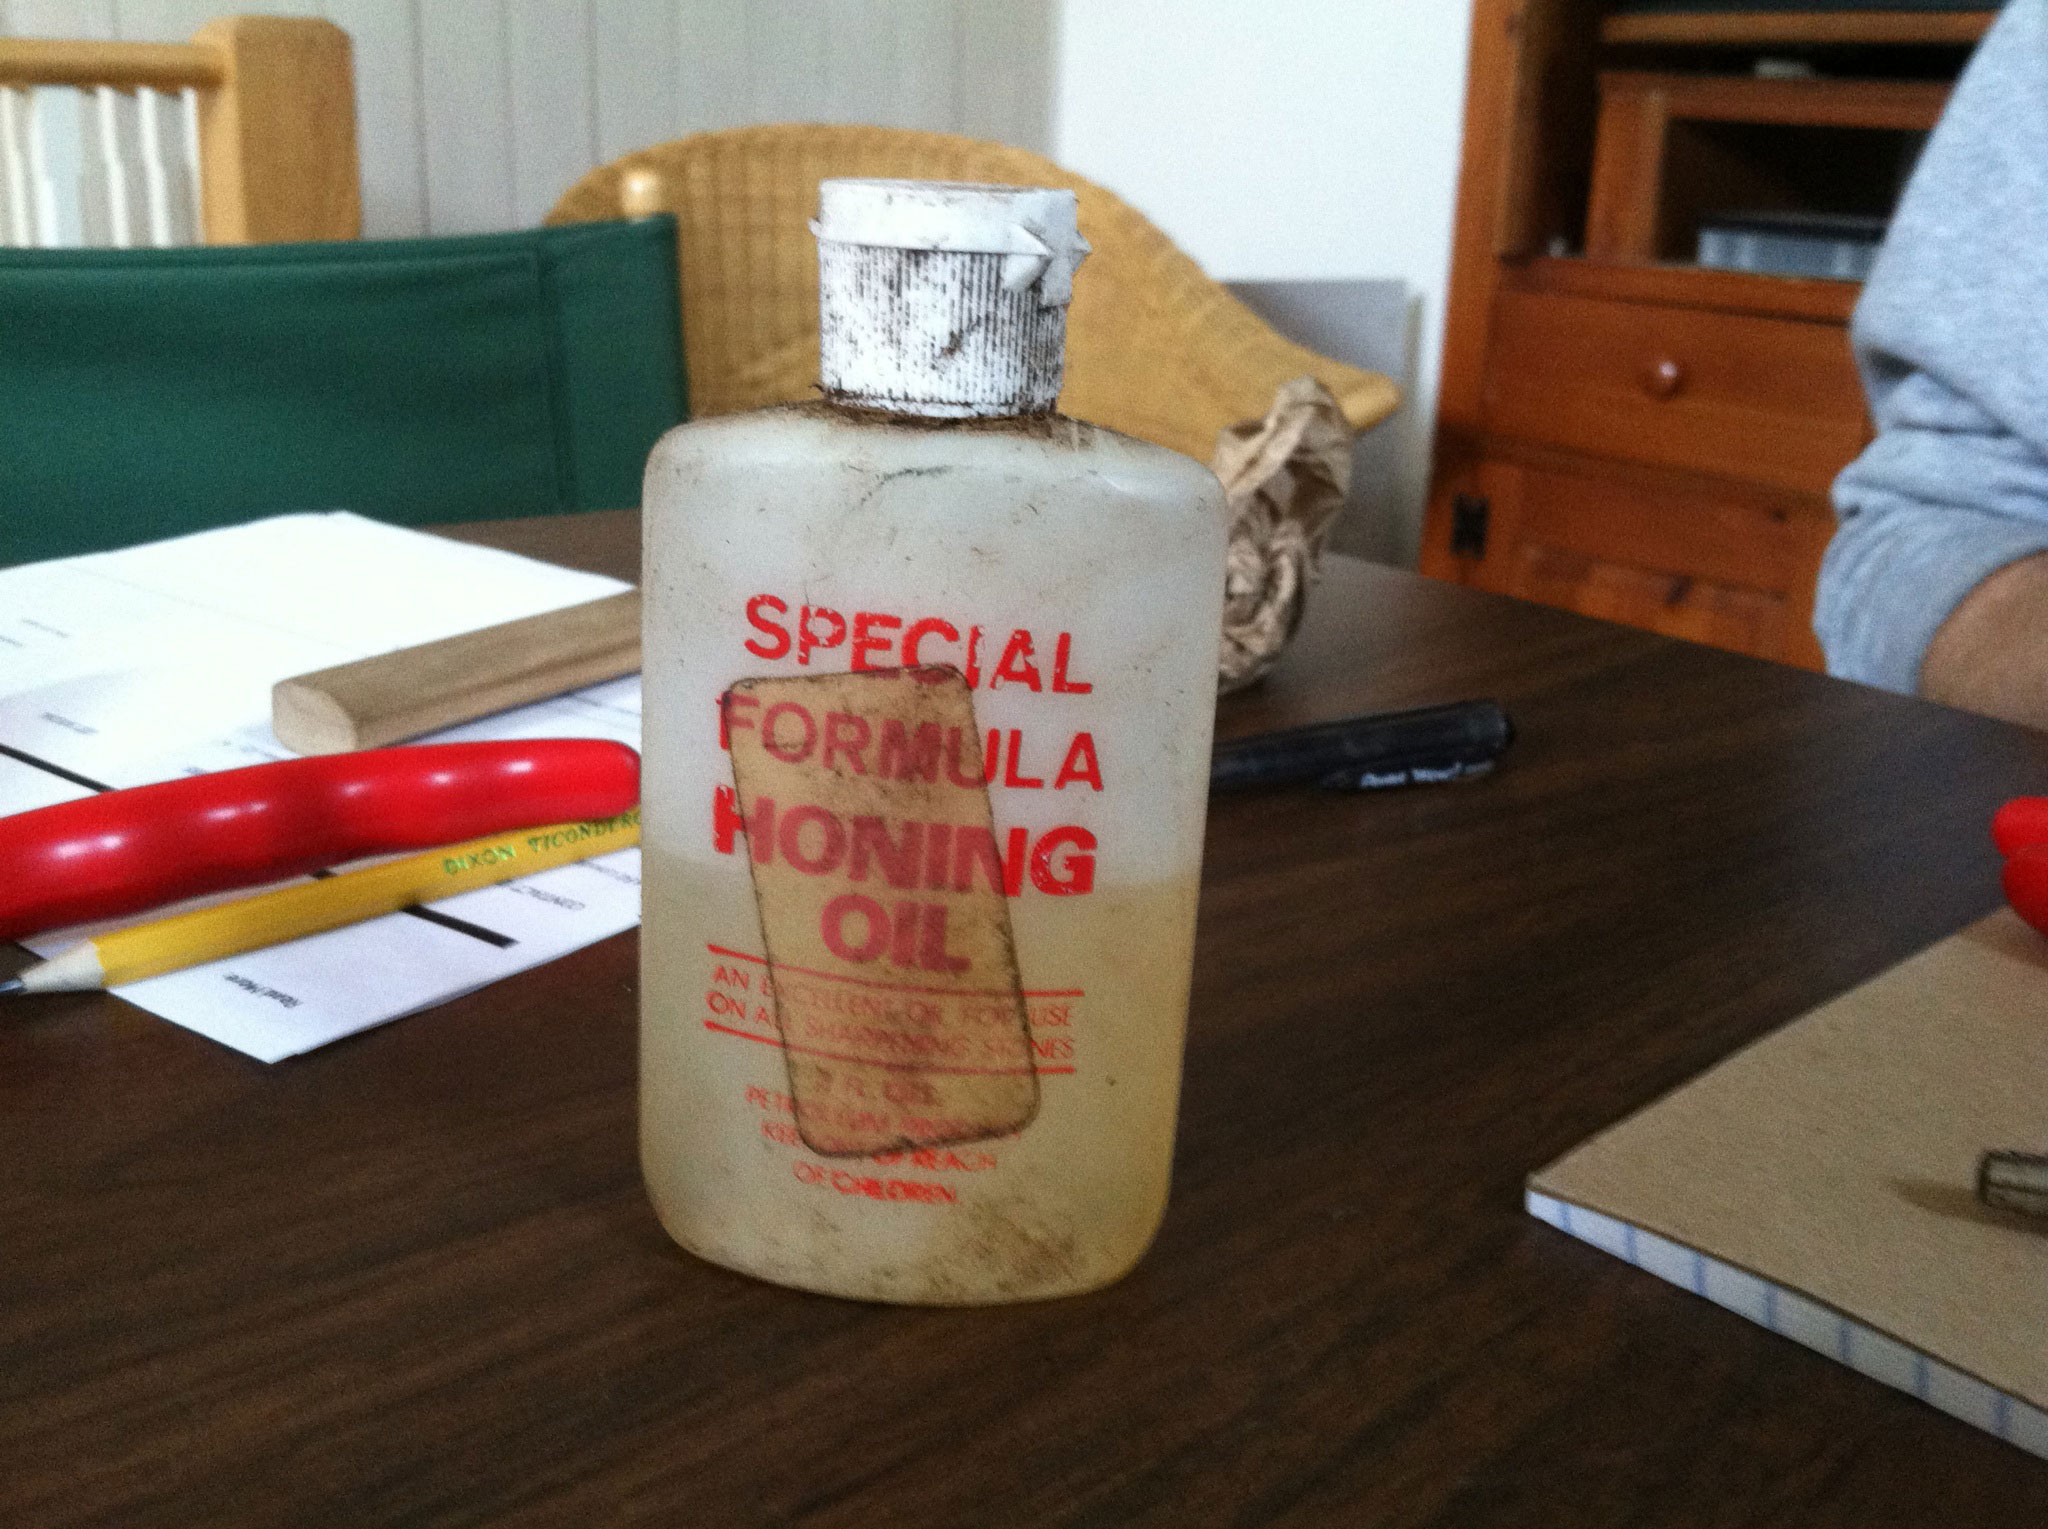
Step #5: Oil
Once you’re done sharpening, it’s time for oil. A drop or two protects steel blades, preventing rust and corrosion, Matt says. It also keeps the pivot mechanism moving smoothly. Any type of oil will do, from canola or vegetable oil to WD40, honing oil, or household 3-in-1. “Use just enough to coat the surface,” Matt says. He rubs oil all over the metal surfaces and wipes off any excess with a cloth. “The oil shouldn’t run or collect.”
Step #6: Always, Always Use the Right Tool for the Job
There will be a future post on this topic, but for now, Matt reminds all of us to use the right tool for the job. “The right tool for the job is going to reduce wear and tear, and that means you sharpen less often,” he says. The Felco #2, which he uses frequently, “is capable of cutting a great many more things than you should cut with it. When you have your nice Swiss-made Felco pruners, and you’re out cutting your Roses, you might see a coated wire tie on a Rose, and you think, ‘Oh, I’ll just cut it with the pruners, and it’ll be OK because I’m only going to do it this once.’ It is not OK.” Tools that are misused are subject to dings, degradation, and breakage. “The relationship between care and use goes together like teeth and gears,” Matt says. Make that extra trip back to the shed for the wire cutters, or whatever tool is designed for a specific purpose. “This might sound like a sales pitch, but in the long term, having the tool that’s made for the job you’re doing is less expensive.”
Ongoing Care & Rubbing Alcohol
Ideally, you should clean, dry and oil your tools after each use. Not many of us are that diligent, but the point is, buy good tools and treat them with the respect they deserve, cleaning them often.
For tools that come in contact with plant material, it’s wise to clean the blades with rubbing alcohol. “It can dramatically reduce insect and disease issues,” Matt says. A good number of plant diseases are plant-specific and won’t spread from one type of plant to another on a pair of pruners, but others can be transmitted that way, and a bit of alcohol can hinder the spread.