By Ann Travers
White Flower Farm Editor
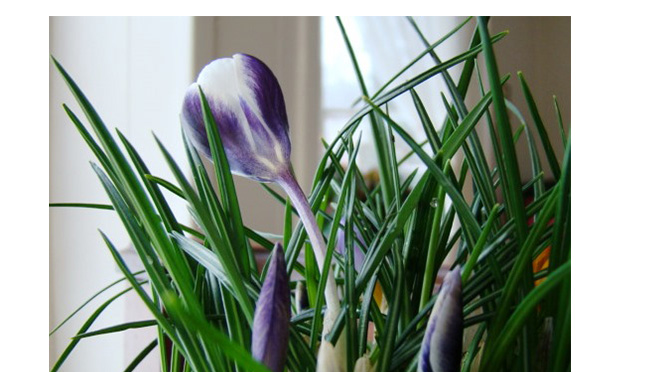
Few plants deliver such enjoyment in the middle of winter with so little effort from you. Their perfect, diminutive blooms create a composition that’s pure magic.
4 Easy Steps
1. Start with good stock. Purchase top-quality bulbs from a reliable source. We offer an array of Crocus varieties and several mixes designed to provide loads of bright blooms.
2. Planting your bulbs. Use any pot you like to hold Crocus bulbs you plan to force, as long as it allows room for root growth—about 3-4” of space below the bulbs. Pots equipped with drainage holes are favored because they reduce the chances of overwatering bulbs. If you choose a pot without a drainage hole in the bottom, you’ll have to water your bulbs more carefully because bulbs that sit in soggy potting mix will rot.
To pot the bulbs, begin by placing soilless potting mix (available at garden centers) in a plastic tub or bucket. Slowly add water and stir until the mix is evenly moist but not soggy. Add the moistened mix to the container until the pot is about ¾ full. Set the bulbs root-side down on top of the mix. Space them much more closely than you would in the garden—they should almost touch. Then add more mix. Cover the bulbs completely with a ½” layer of mix. Water thoroughly after potting.
3. Chilling the bulbs. To force Crocus bulbs into bloom, you must first encourage them to produce new roots by keeping them cool and moist in a location with temperatures above freezing and rarely rising above 40° for a period of 12-15 weeks. This process simulates the natural conditions that cause Crocuses to bloom, shortening the chilling period (“winter”) by a few weeks. When the pots are brought out of cold storage, the bulbs think spring has arrived and quickly sprout and flower. It’s that easy—the bulbs do most of the work.
The easiest way to chill bulbs is to put them outdoors and let nature do the rest. To insulate the bulbs from rapid changes in air temperature and from freezing cold, bury the pots in a pile of dry leaves held in place by a plastic tarp or in a pile of mulch, such as bark or wood chip, and cover the pile to prevent the formation of a frozen crust. You also can chill bulbs in a cold frame if you’re lucky enough to have one; a cold basement; an old refrigerator; or an unheated garage (provided the temperature doesn’t fall below freezing). Please note: If storing in a refrigerator, make sure there is no fresh fruit inside. The ethylene gas released by fruit can interfere with flower development.
Please note that moisture is as important as temperature in the successful chilling of bulbs. Check the potting mix in the pots every few weeks and water thoroughly when the surface is dry to the touch.
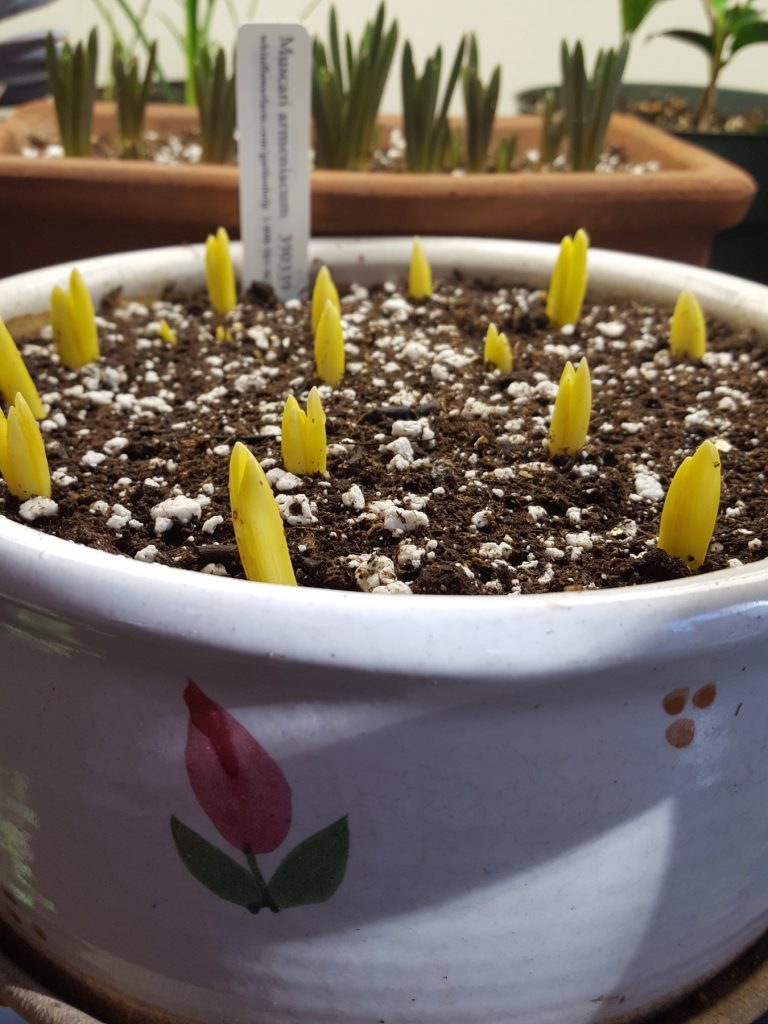
Toward the end of the recommended rooting time, begin checking the pots for signs that the bulbs have rooted. If you see fleshy white roots poking through the drainage holes in the bottom of the pots, the bulbs are usually ready to bloom. If you don’t see roots, give the bulbs more time in cold storage. Don’t judge readiness by the appearance of shoots from the tops of the bulbs; without roots, the bulbs won’t flower properly.
4. Bringing the Bulbs into Bloom
At the end of the chilling period, bring the pots out of cold storage and set them in a bright window in a cool room (one where the temperature stays below 65°F). You’re likely to find that the bulbs have produced white shoots during cold storage. Sunlight quickly turns them green. Water your bulbs when the soil is dry to the touch.
Most Crocus bulbs will bloom 2-5 weeks after they come out of the cold, heralding spring with their bright colors. When the blooms fade, we usually recommend that you toss the bulbs on the compost pile. If you keep them in a sunny window and continue to water them, forced bulbs can be planted in the garden after the threat of hard frost has passed, but they won’t bloom well again for at least 2 years.