It had rained in the night, so the flowers I sought, all dappled with raindrops, seemed to laugh at the purpose I had in mind for them. How would they fare as dried flowers?
On that morning in early August, I approached as many different Hydrangea shrubs as I could find in the White Flower Farm gardens – and there were plenty! I wondered if different species and cultivars would dry better than others. There were three relatively simple drying methods I wanted to try, but I still had questions about the best Hydrangeas for drying, when to harvest them, and which of the methods would be most effective.
Cutting the Blooms
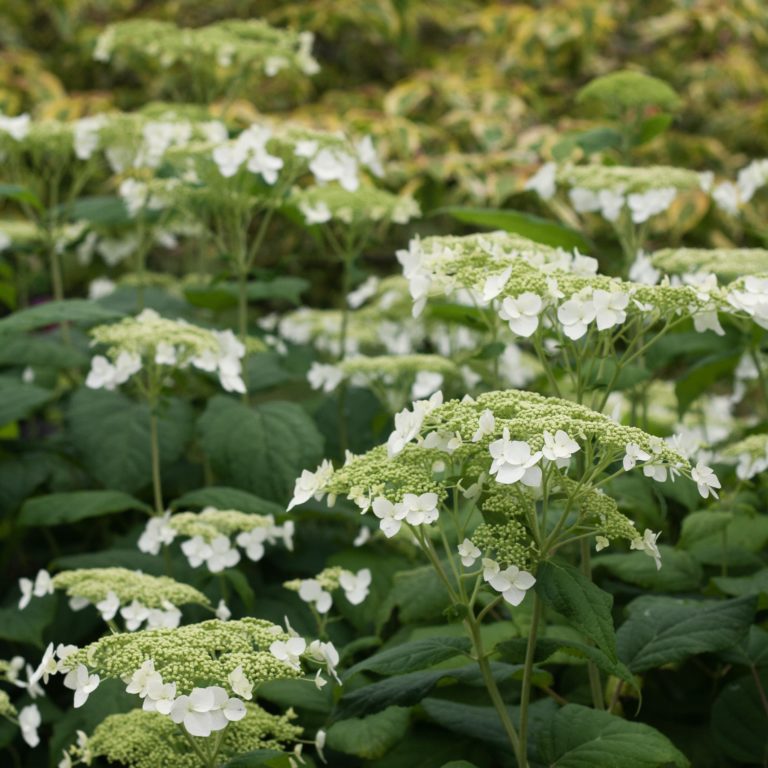
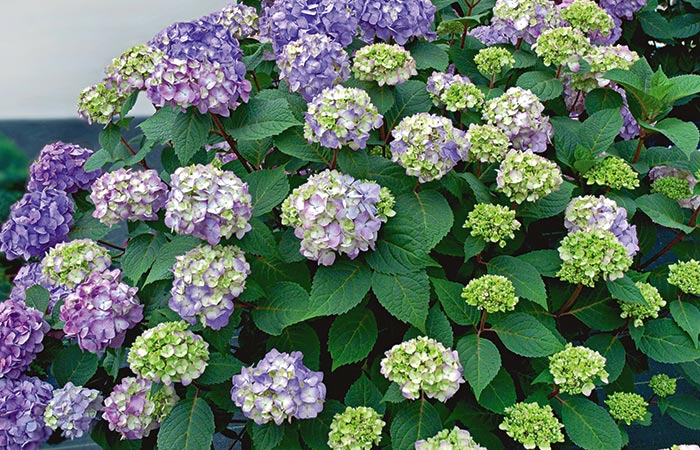
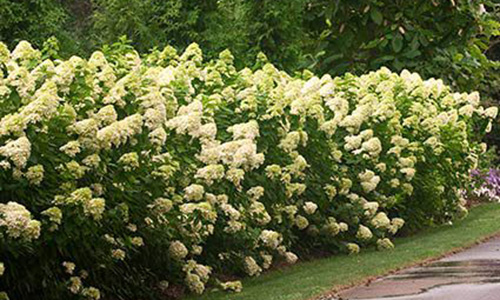
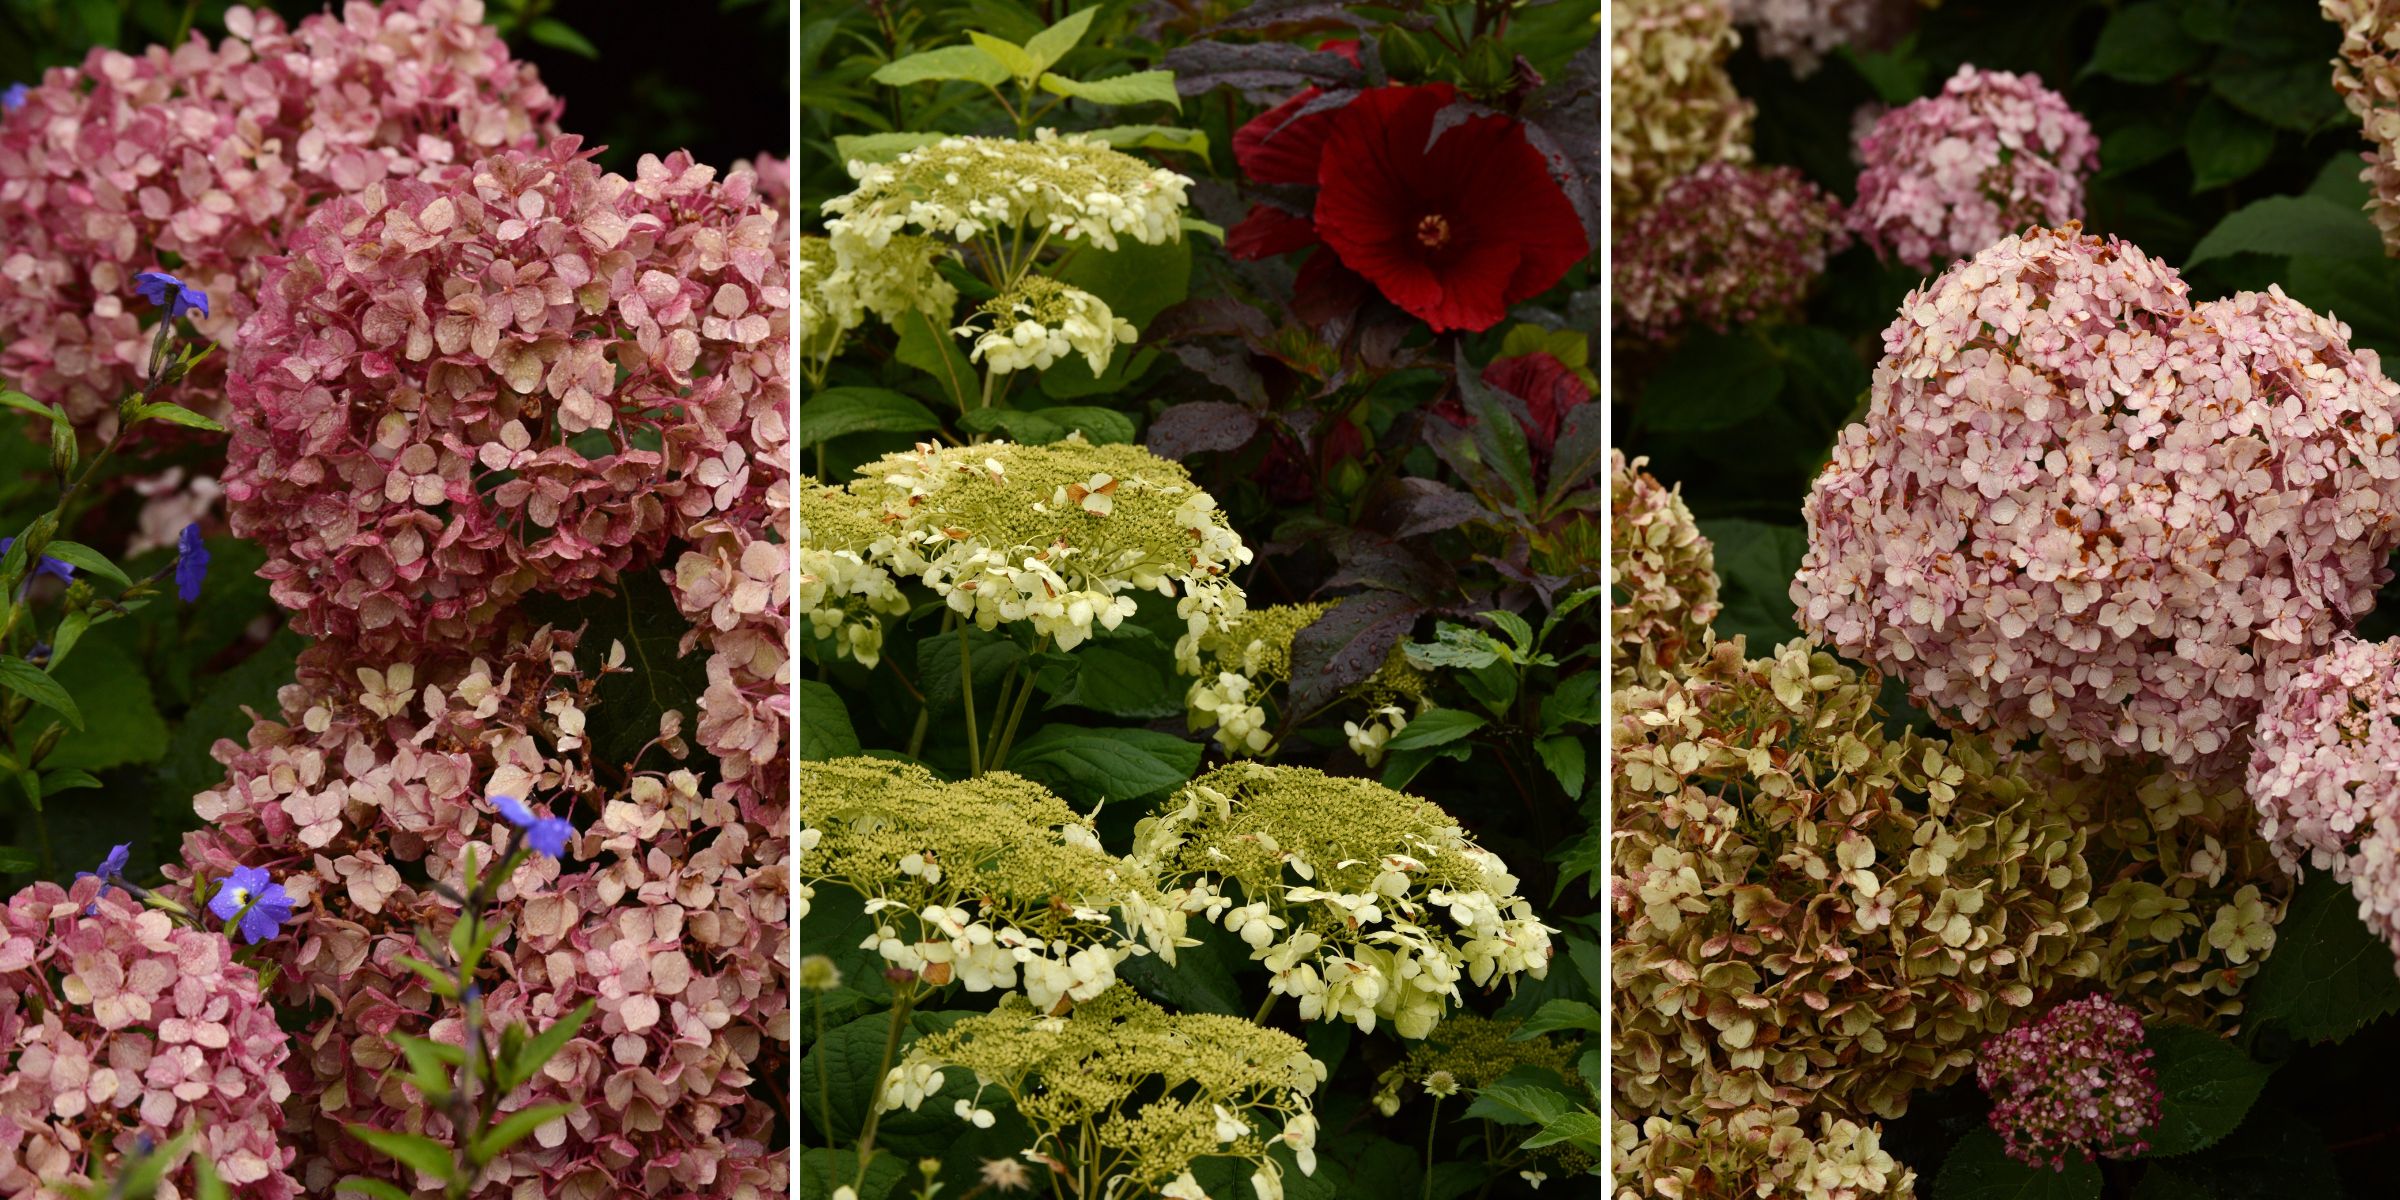
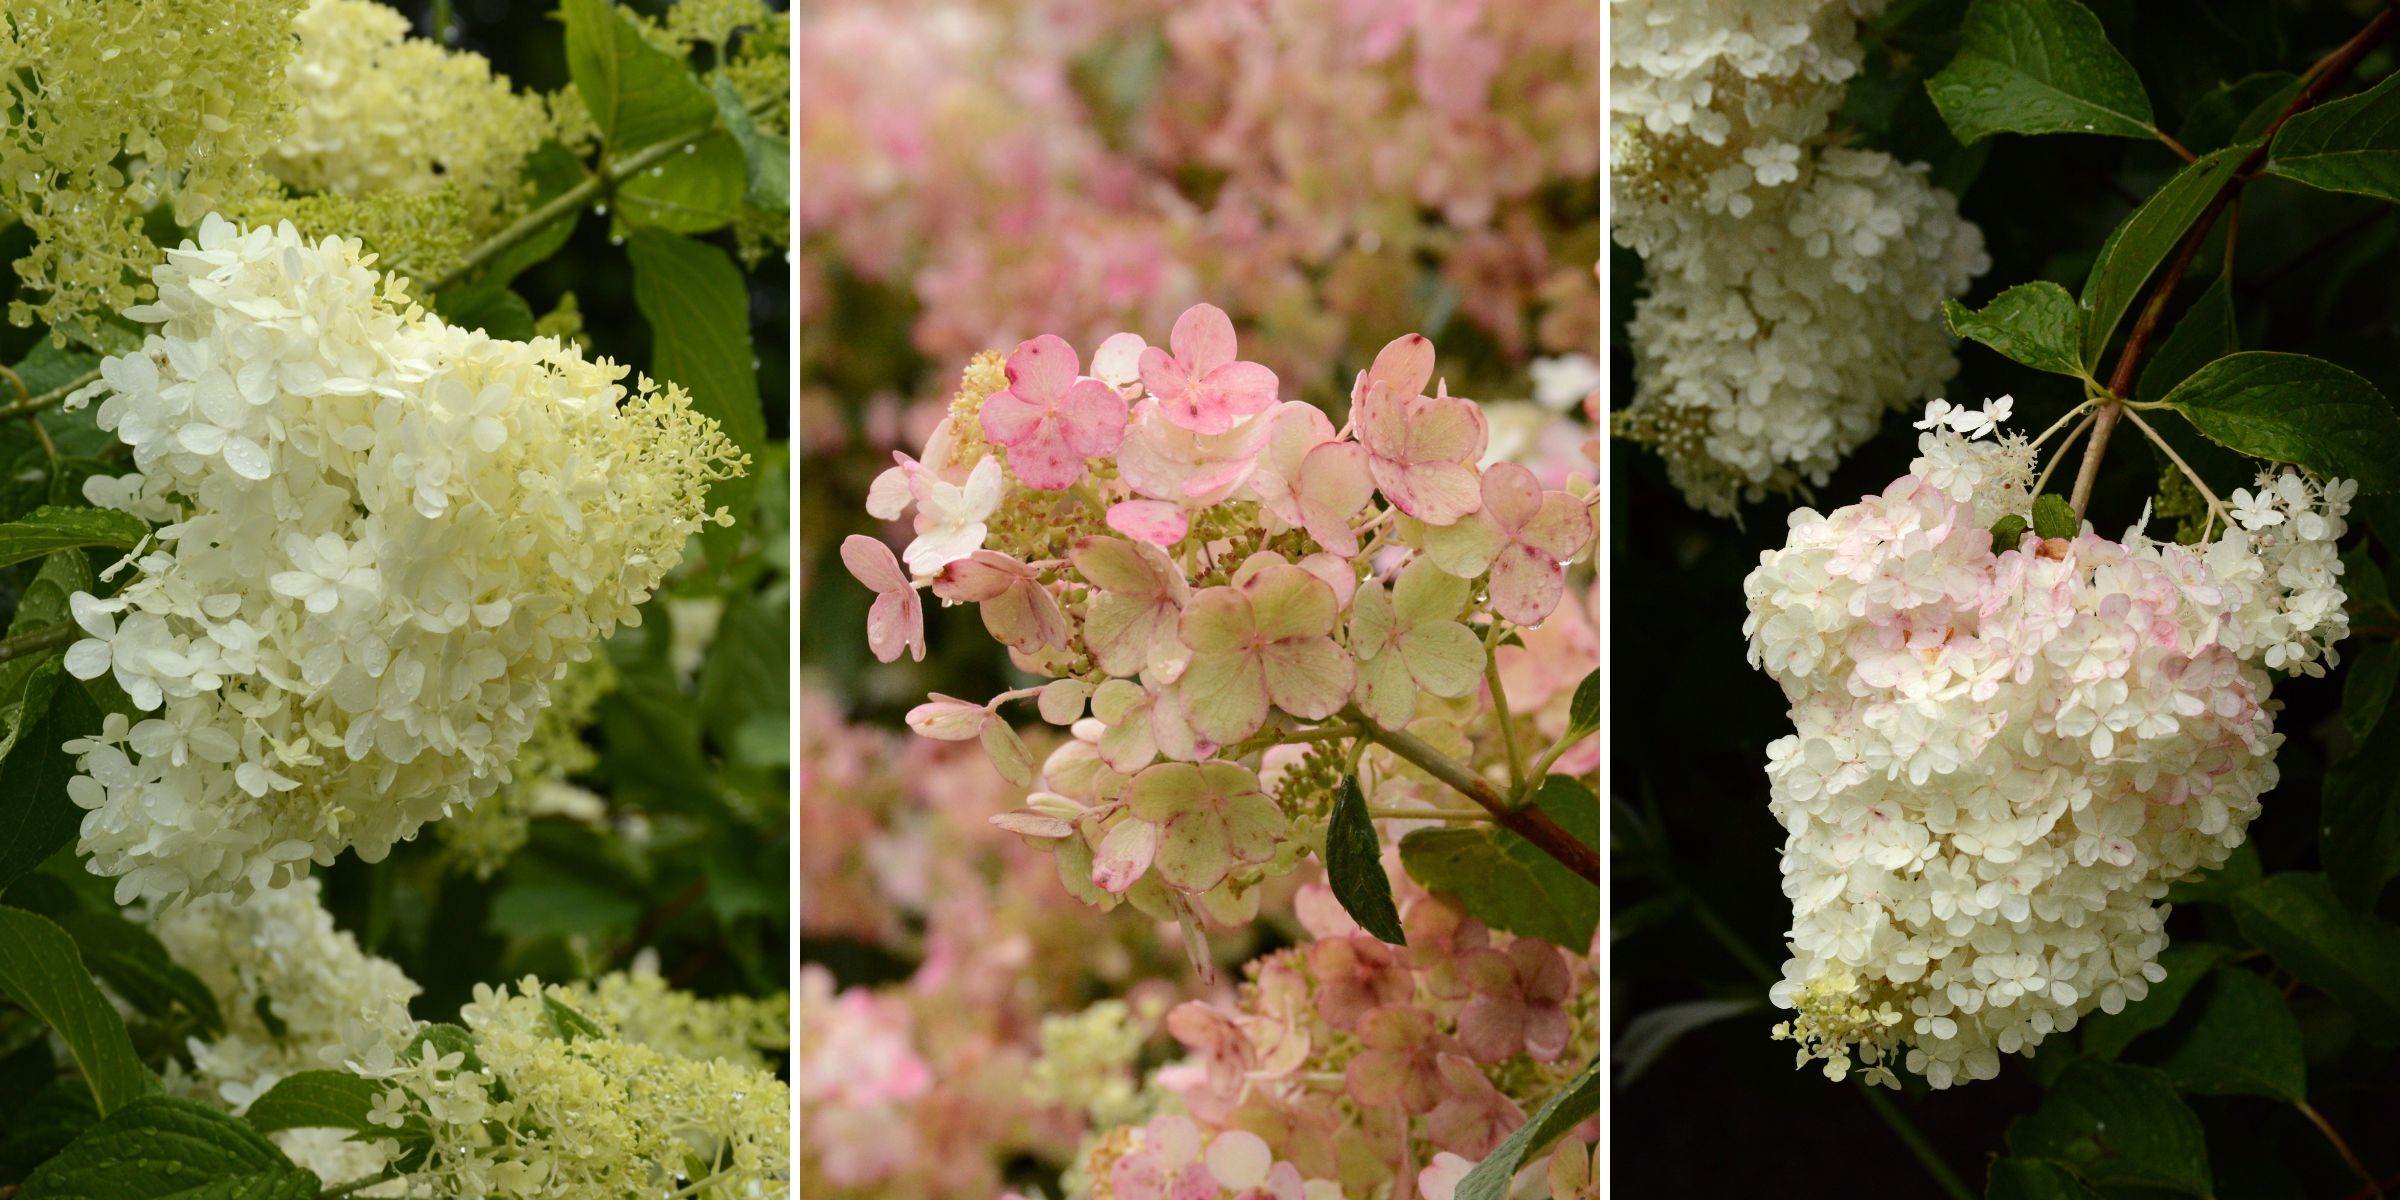
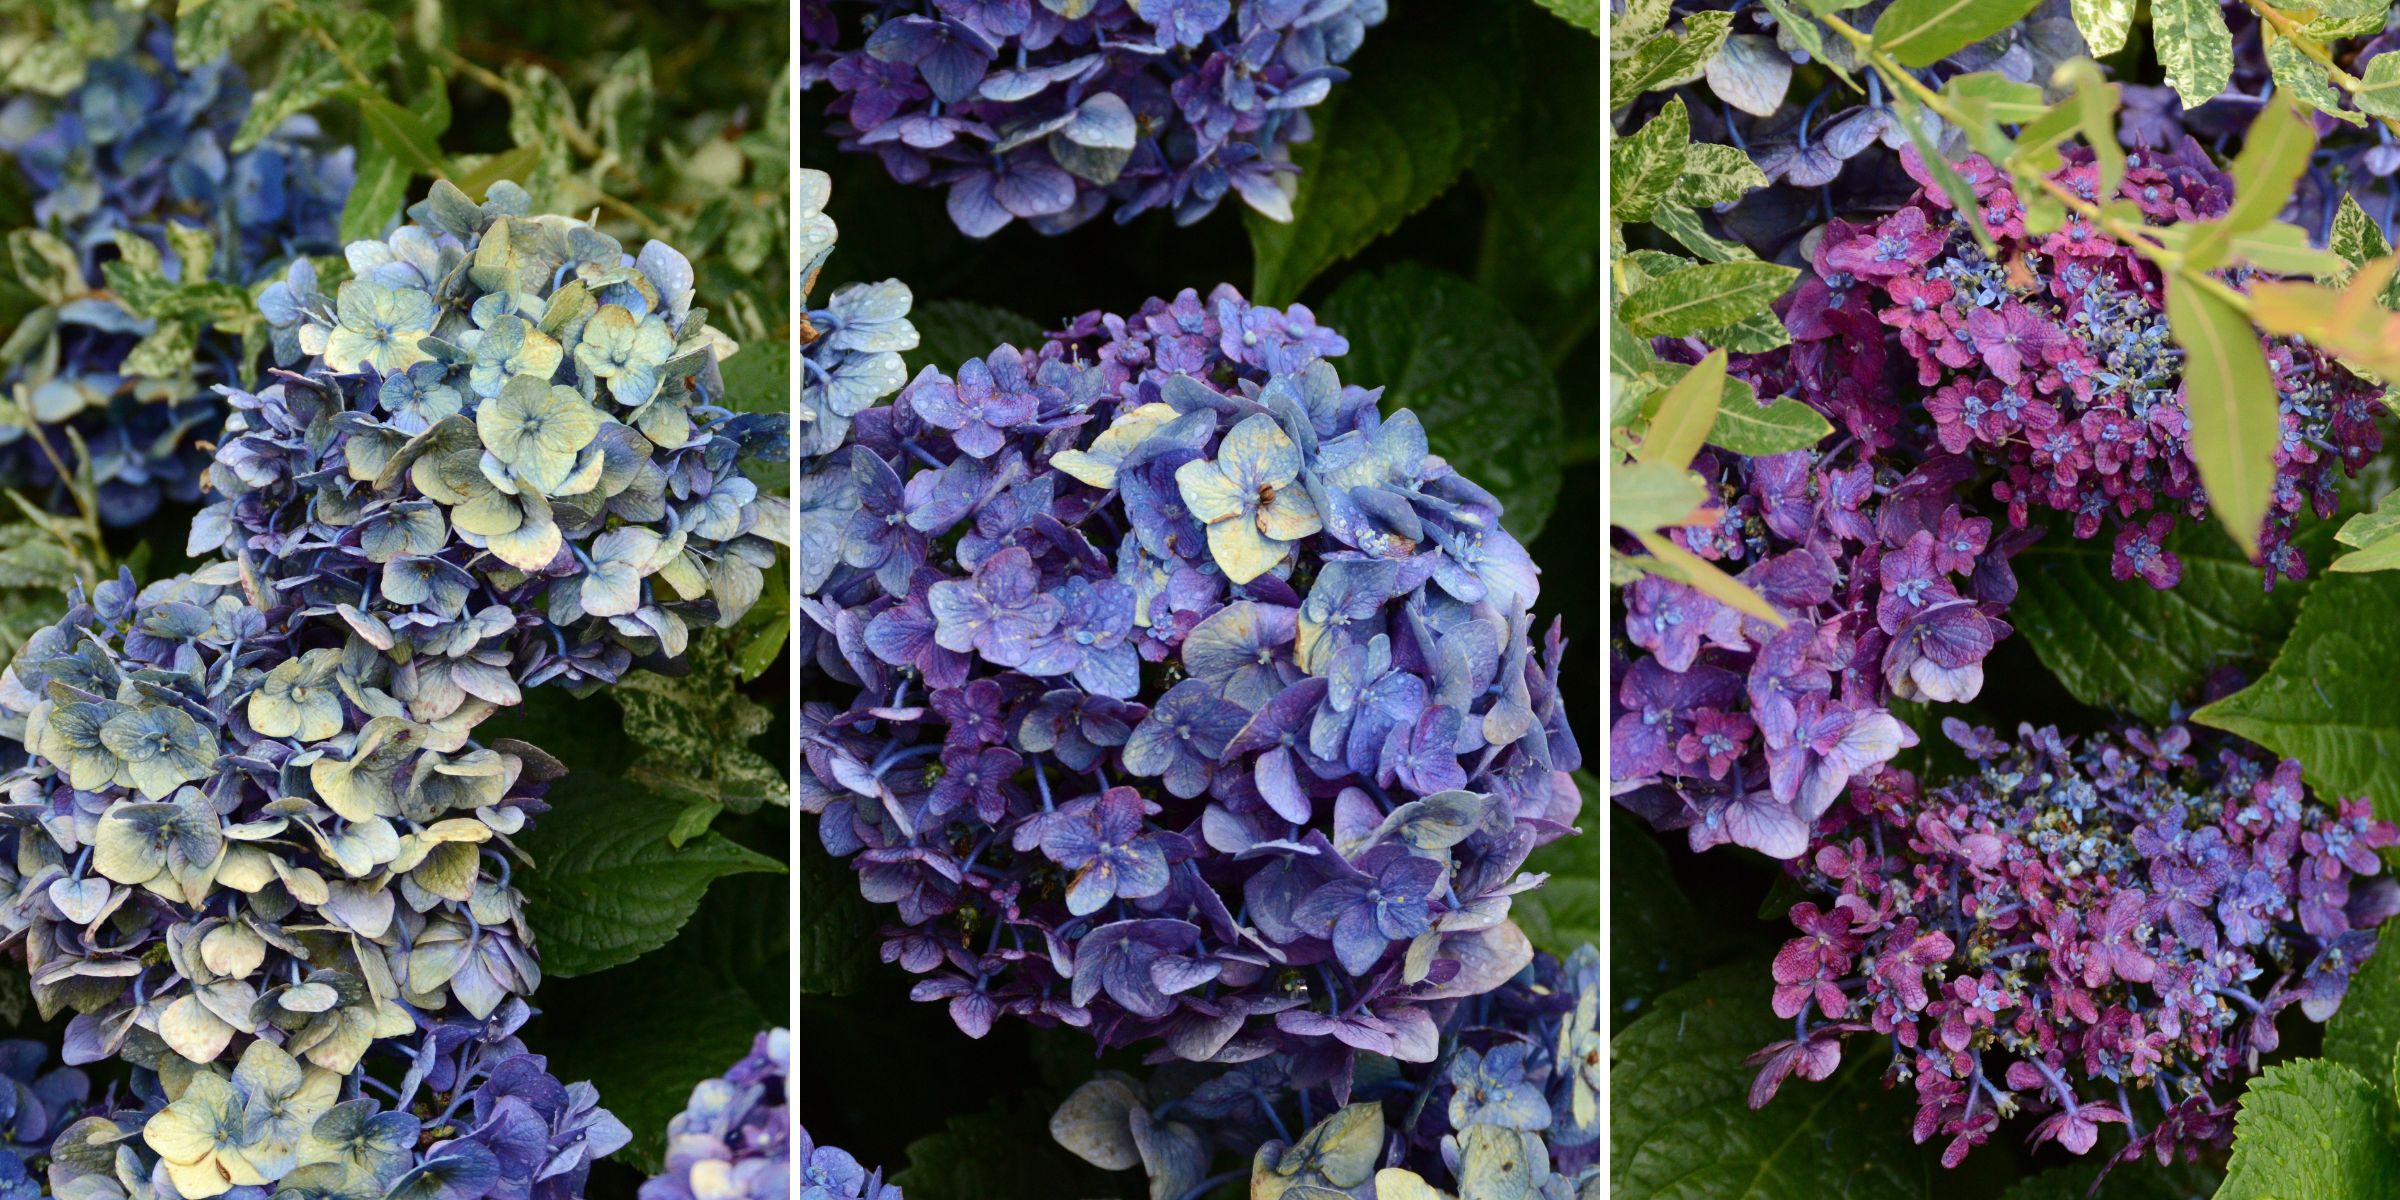
With boots drenched from the wet grass and pruners in hand, I clipped stems from seven varieties of Hydrangea that were exhibiting the most interesting blossoms at the time. My selections included three different flower forms: Mophead (the classic rounded form), Lacecap (flatter and more delicate with their hem of sterile florets), and Panicle (shaped like ice cream cones). I gathered blooms at varying stages of maturity, and because I would be trying three different drying methods, I cut at least three stems from each of the shrubs, one for each trial. Scroll below to see the players.
Cutting flowers is a bit of a science. I timed my cutting for early morning when blooms are freshest, and I made sure my pruners were clean and also sharp so they would not crush the stems. I angled my cuts to create the largest surface area for water absorption. I transferred the cut stems immediately to a bucket of water as this helps prevent air bubbles from going up the stems, which can cause the blossoms to shrivel prematurely.
There is an additional consideration when cutting flowers for a vase, basket, or other vessel. It may be important to leave a certain amount of stem. This is particularly true when cutting for dried blooms. I chose to leave stems about 12-18” in length, allowing plenty of stem for different drying methods and for display in medium-sized vases or baskets.
Preparing for the Drying Process
After trundling buckets of cuttings between the gardens and home, I selected an underlit interior hallway for the drying. The low light would help keep flower colors from fading. The blooms could linger there for as long as the process would take, and that was yet to be discovered. With my drying spot ready, I took the first steps in each of three drying methods.
One by one, I removed the Hydrangea blossoms from their buckets and stripped the stems of leaves. This step reserves whatever moisture is in the stems for the flowers only. It also removes foliage that will shrivel, become unsightly, and break once the stems are dry.
Next, I followed the three different methods for drying:
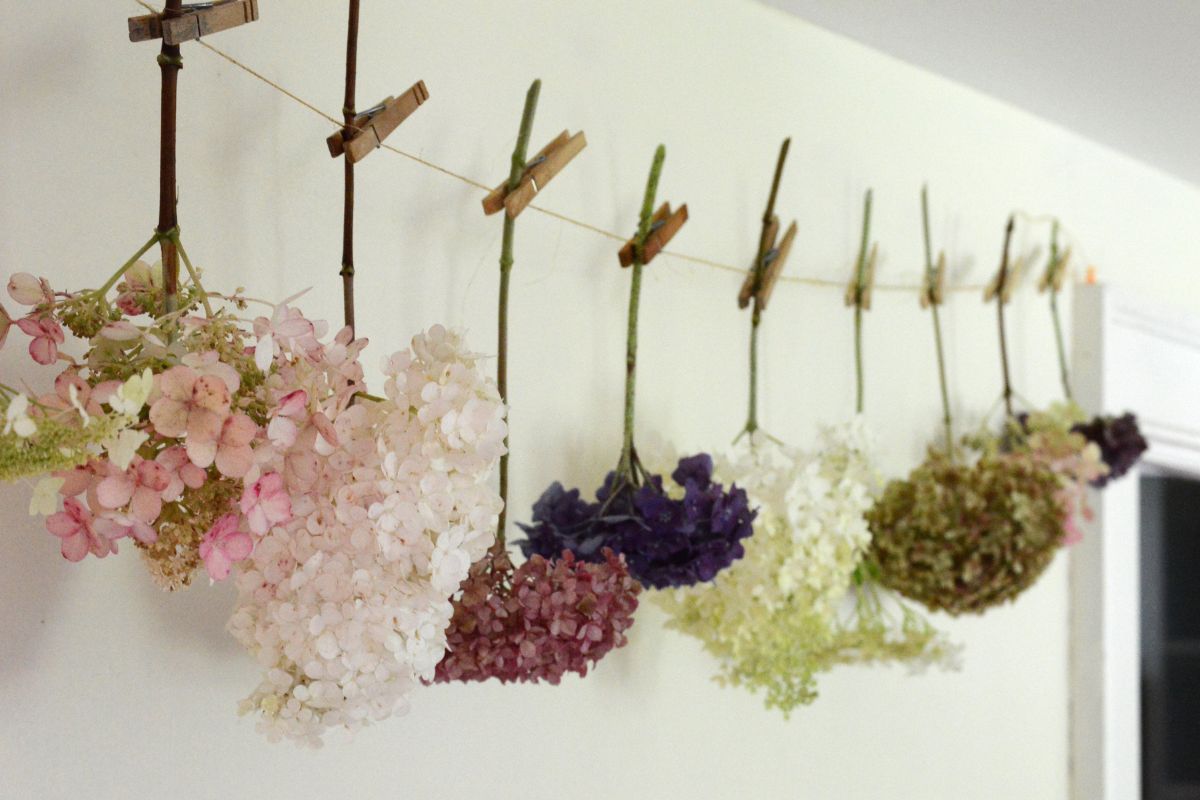
I hung one batch of stems upside down on a string I had suspended between two doorframes. I angled the string slightly away from the wall to allow for better air circulation around the blossoms.
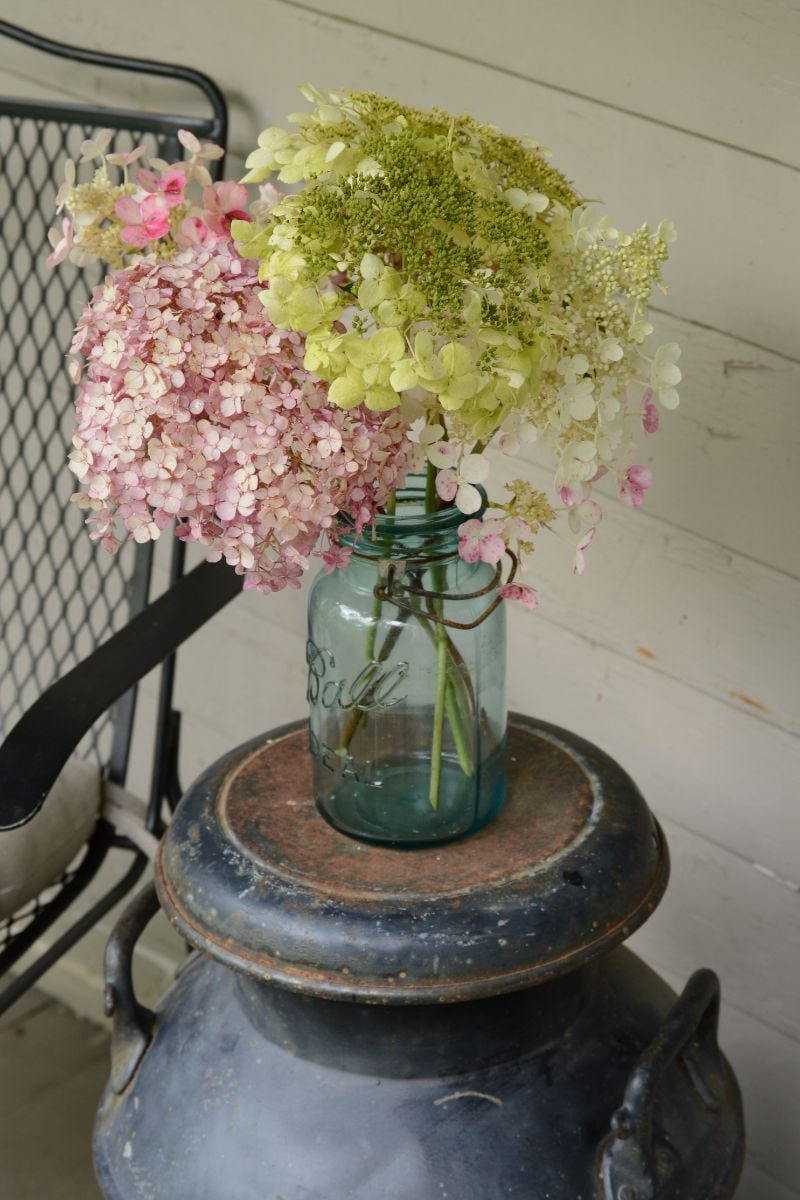
I inserted other stems into old canning jars with no water in them. I tried not to cram in too many blooms, again to permit air to circulate among them.
For the final batch of stems, I made fresh angled cuts as well as vertical cuts about 1” long up the center of the stems to encourage water absorption. I placed these in jars with 1-2” of water. The idea was to allow these stems to dry more gradually as the level of water diminished over time.
End Results & 3 Takeaways
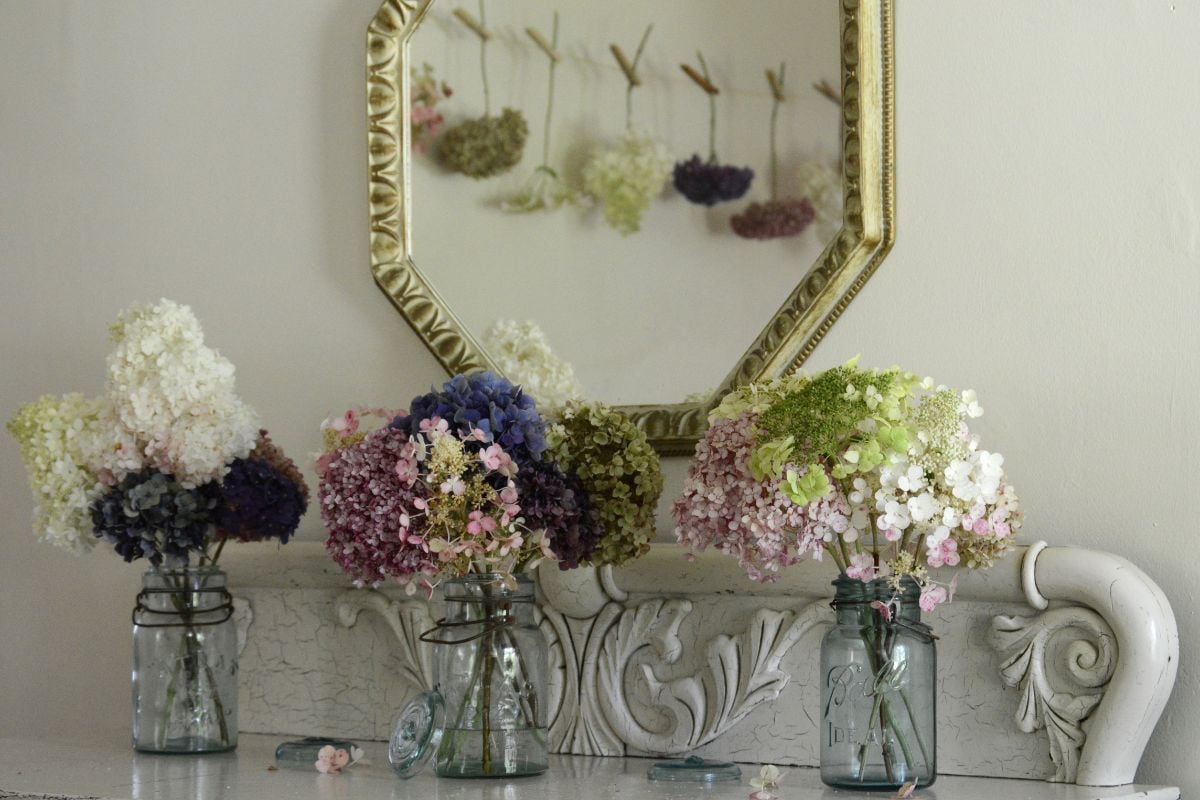
Over the course of one week, I suffered a few losses but also gained an assortment of dried blooms! More importantly, the mixed results helped me come away with three insights for drying Hydrangeas.
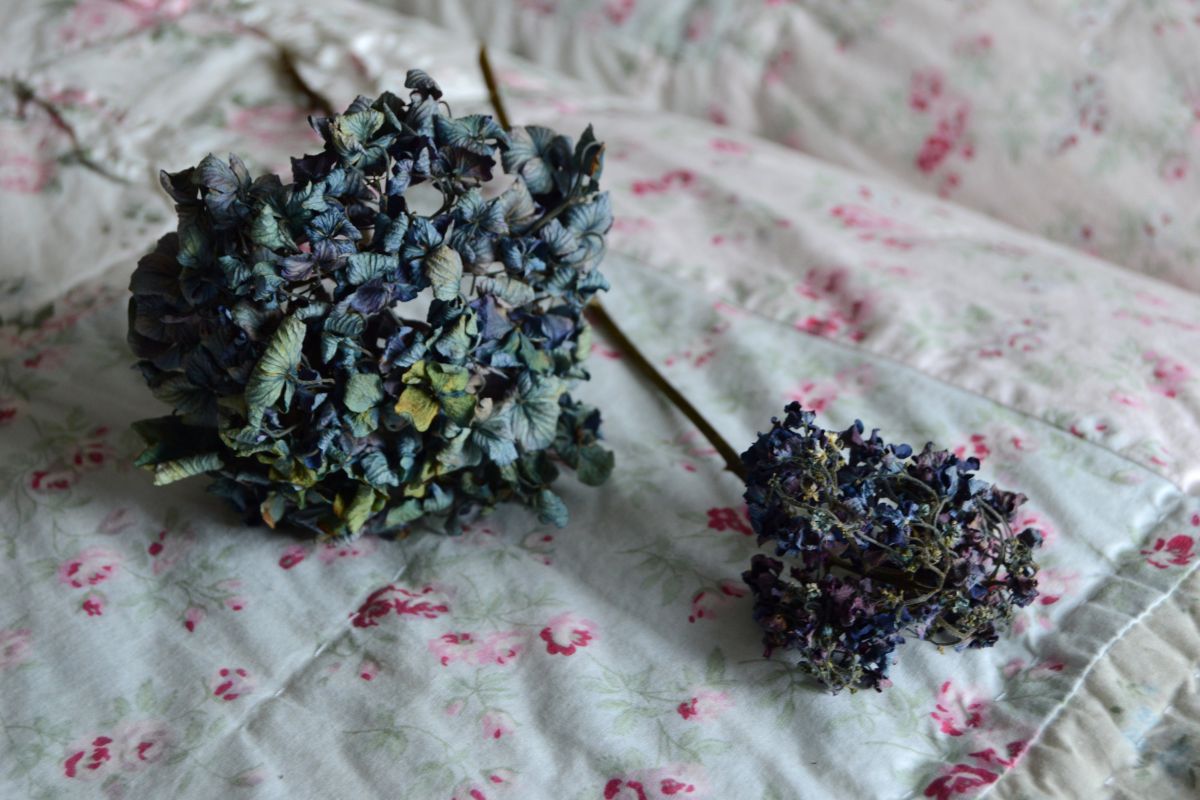
1. Drying can happen relatively quickly. After one week, all the blossoms had totally dried except one (a particularly blue Macrophylla). Those that were in vases without water or hanging upside down dried the fastest, even in the first couple of days. It took a little longer for the stems in vases with water, but once the water was gone after 6-7 days, they were all dry except the one. It should be noted that it was an exceptionally hot week, which may have quickened the pace.
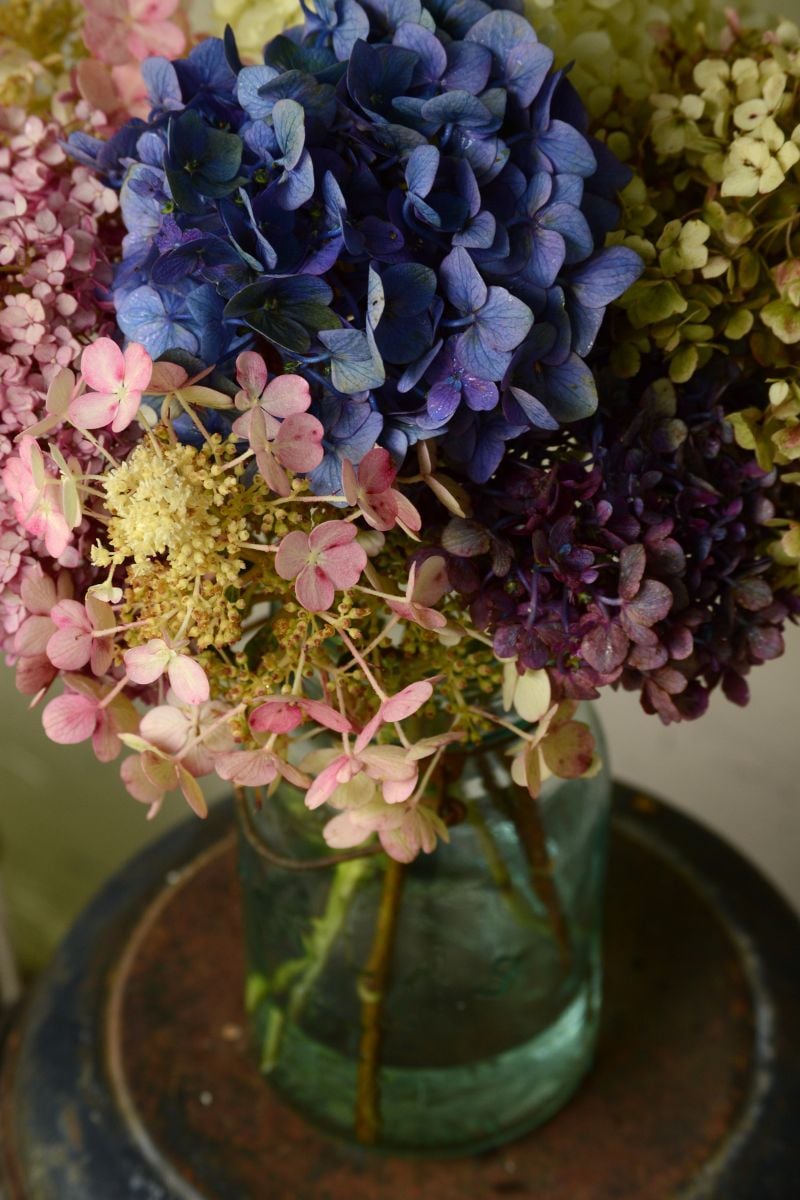
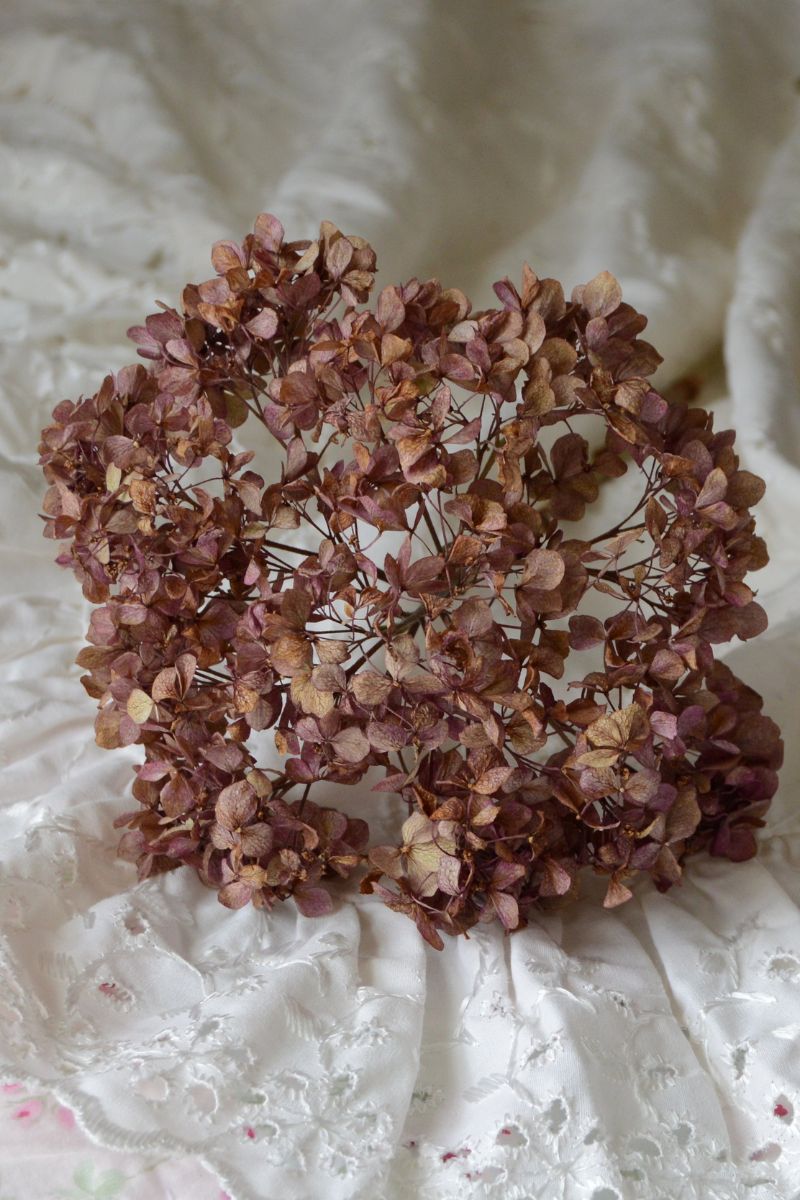
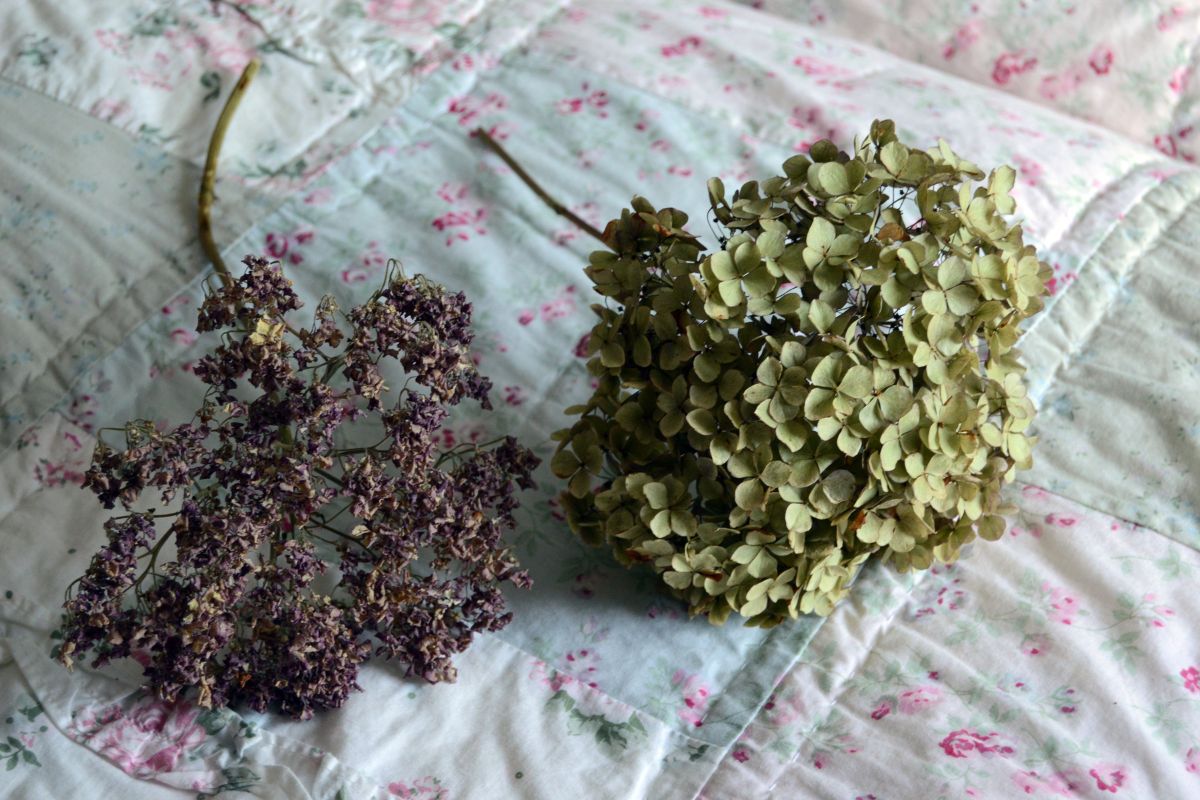
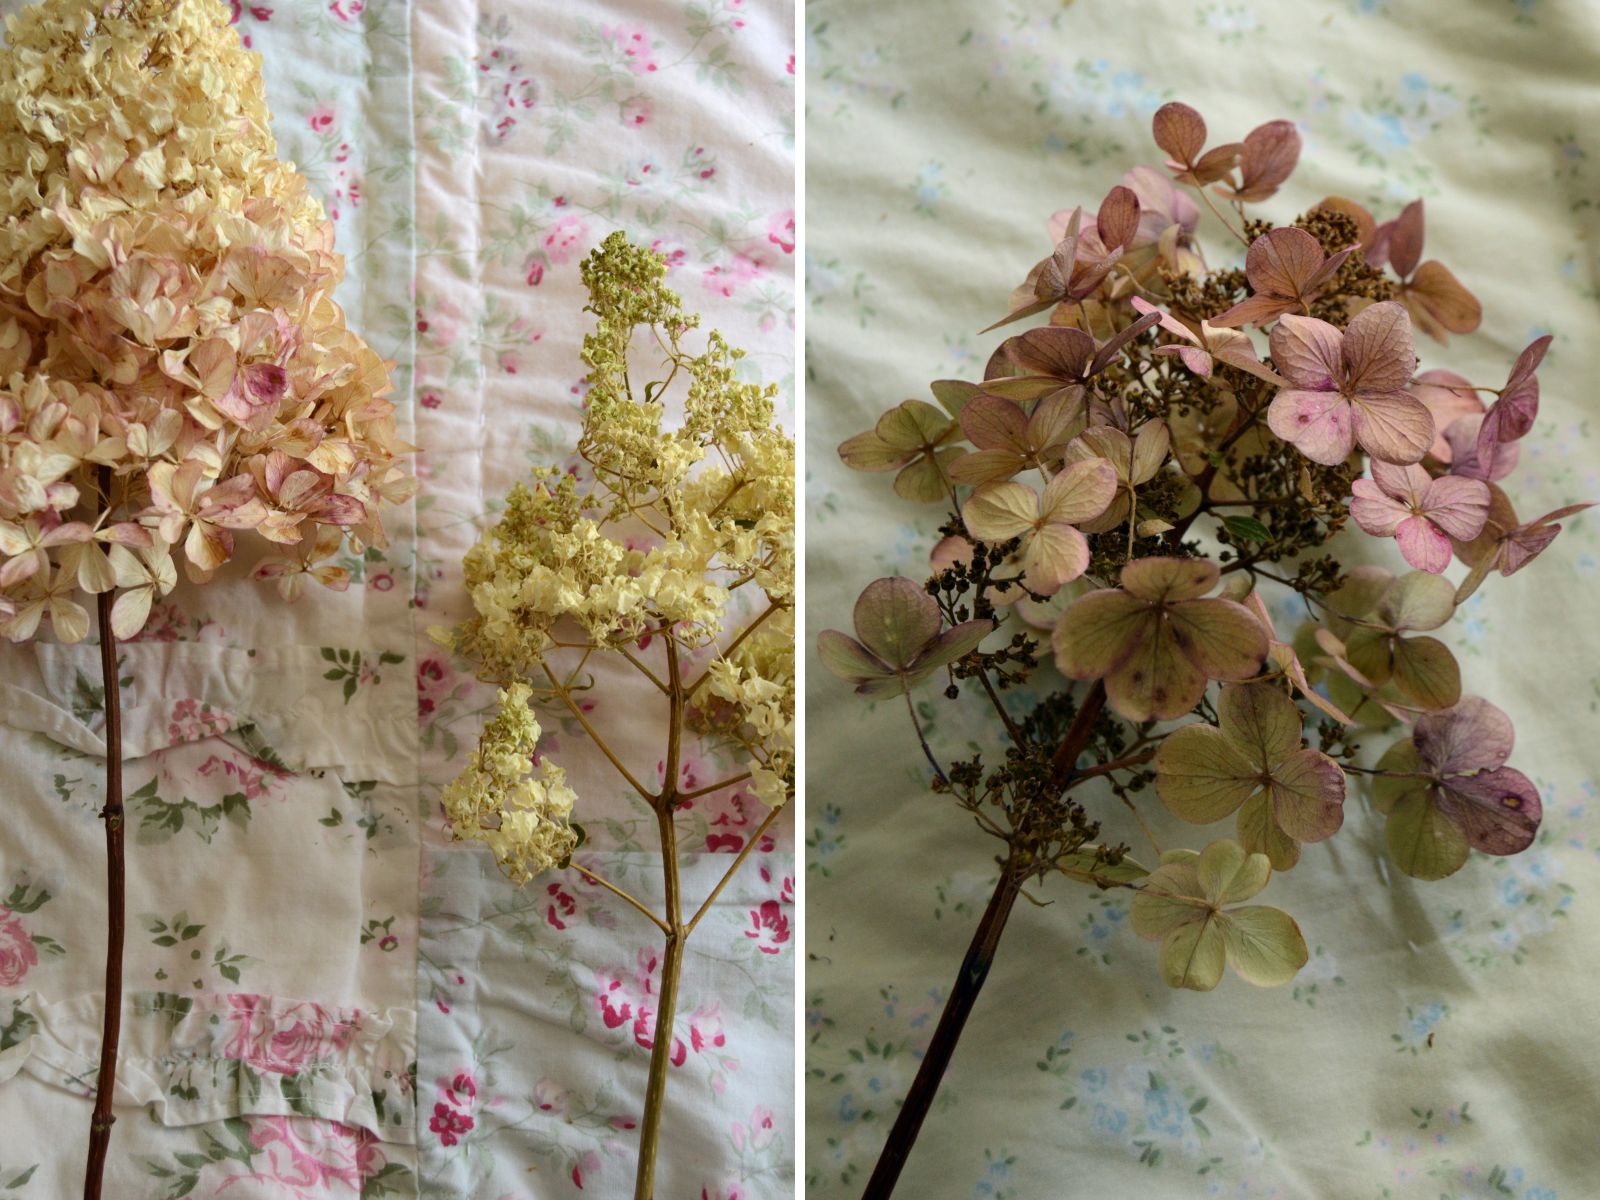
2. Each method works, yet with some discrepancies among varieties. No method stood out as particularly superior to another. However, a couple of Hydrangea varieties responded to specific methods better than others. For ‘Haas’ Halo,’ a lovely Lacecap type, one blossom that was hang-drying lost its flat silhouette due to gravity while stems upright in vases held their shape. In the case of Invincibelle Mini Mauvette®, the bloom that retained its beautiful rose coloring best was the one in the vase with water, perhaps due to its more gradual rate of drying.
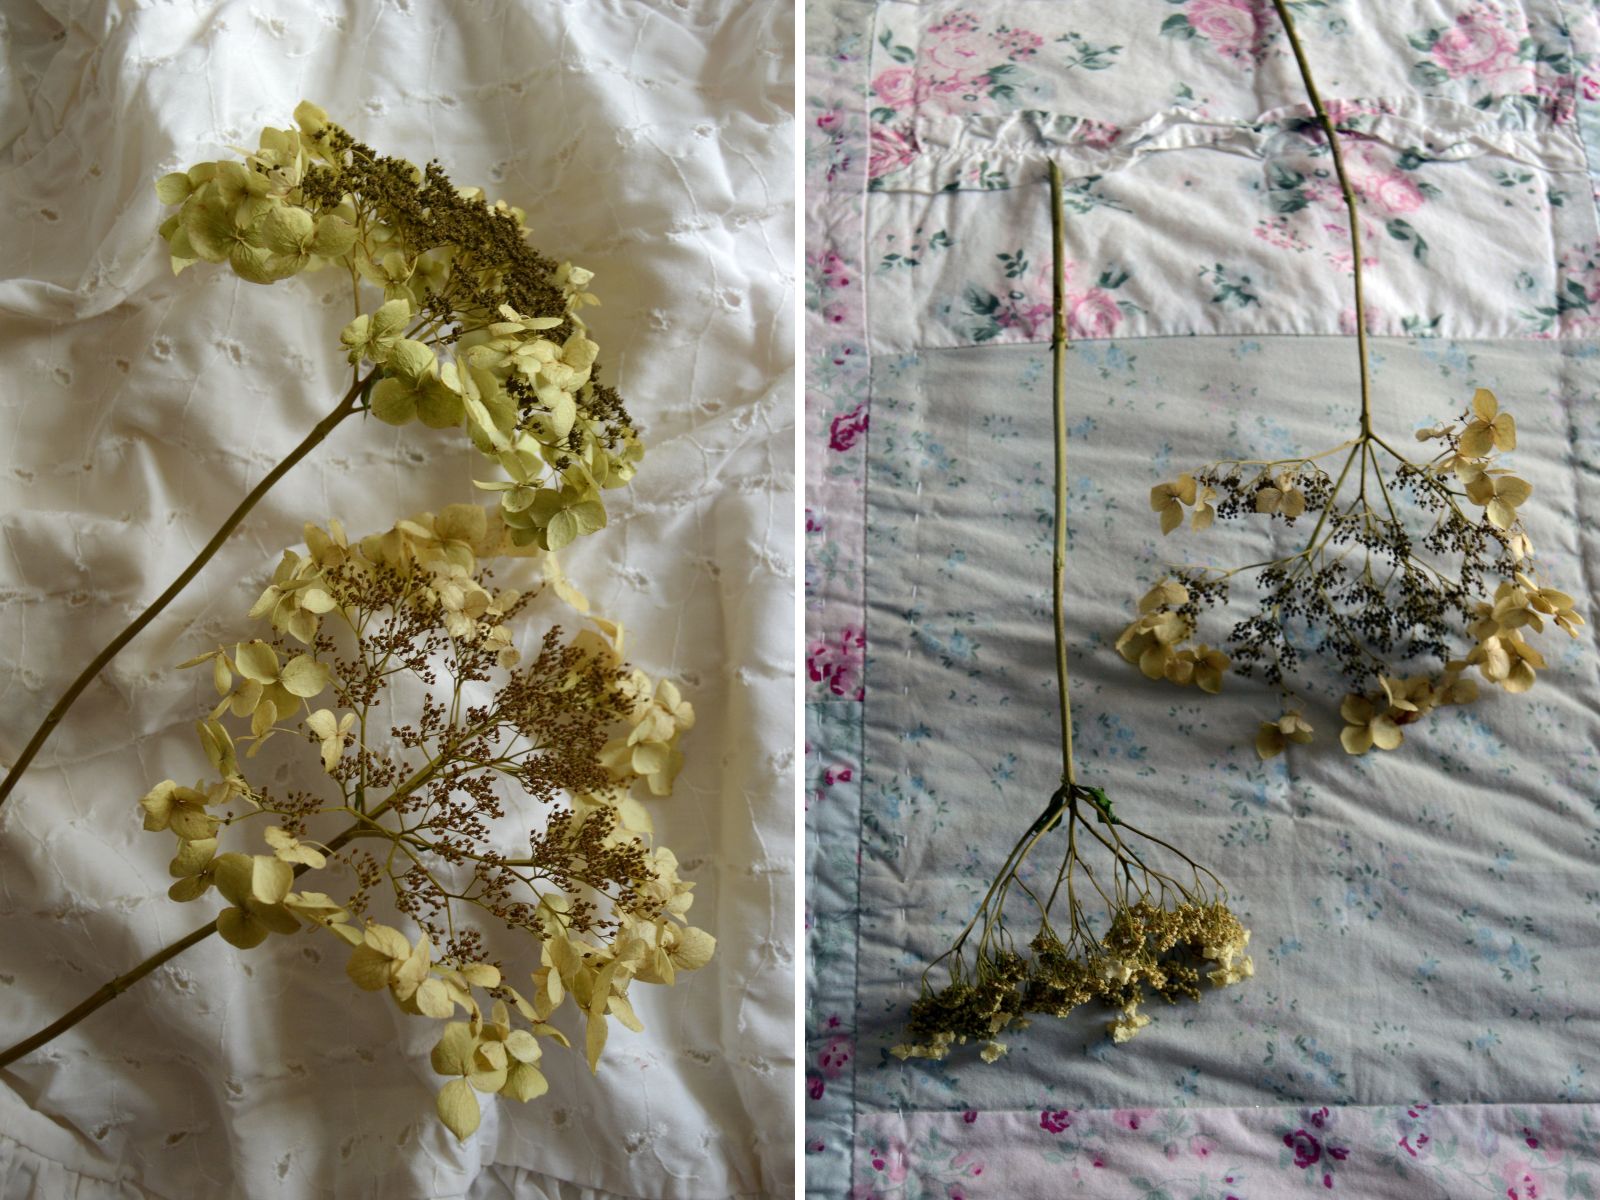
3. Older blossoms perform best. For all the varieties tested, one rule (or lesson) proved true: The more mature the blooms, the better they dried. Older blossoms had few if any unopened flower buds, and very often their colors had begun to fade or transition from one color to another. This was especially evident with the varieties for which I had a range of flower stages, especially Incrediball® Blush and Summer Crush®. Of the three Panicle Hydrangeas, Little Quick Fire® had the most mature flowers and outperformed the others.
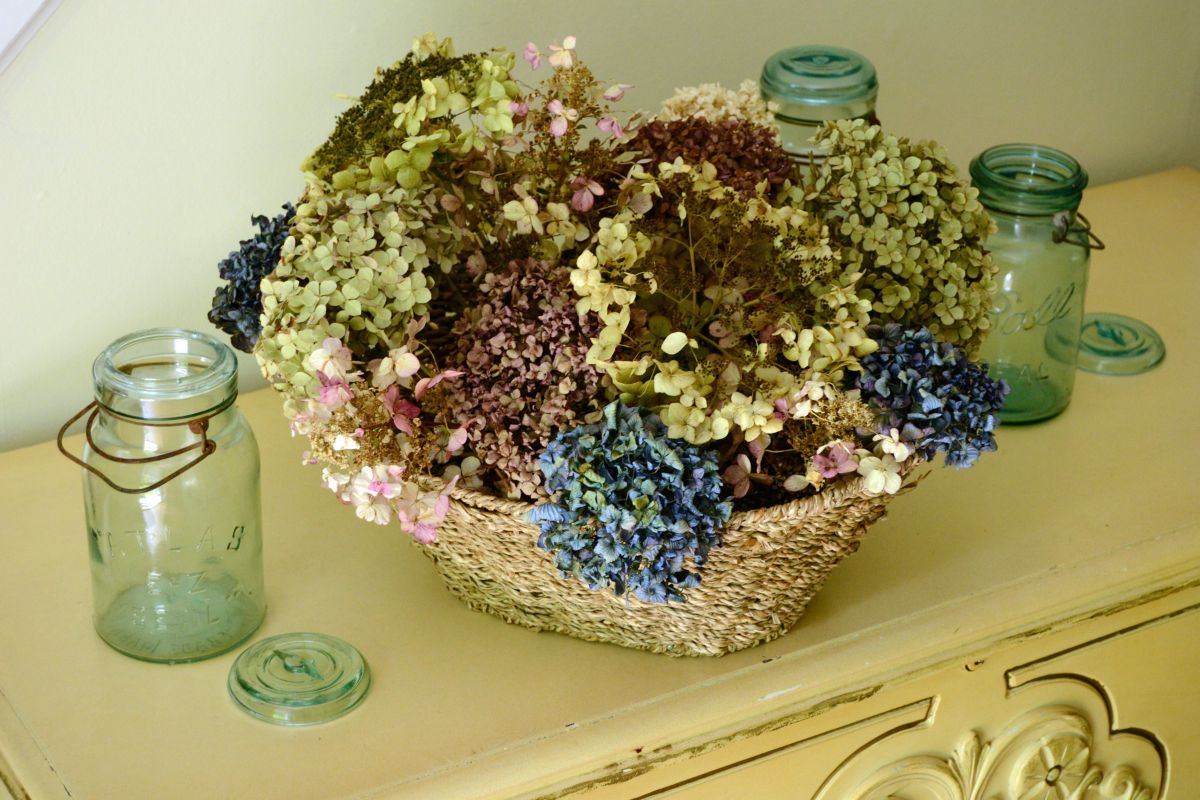
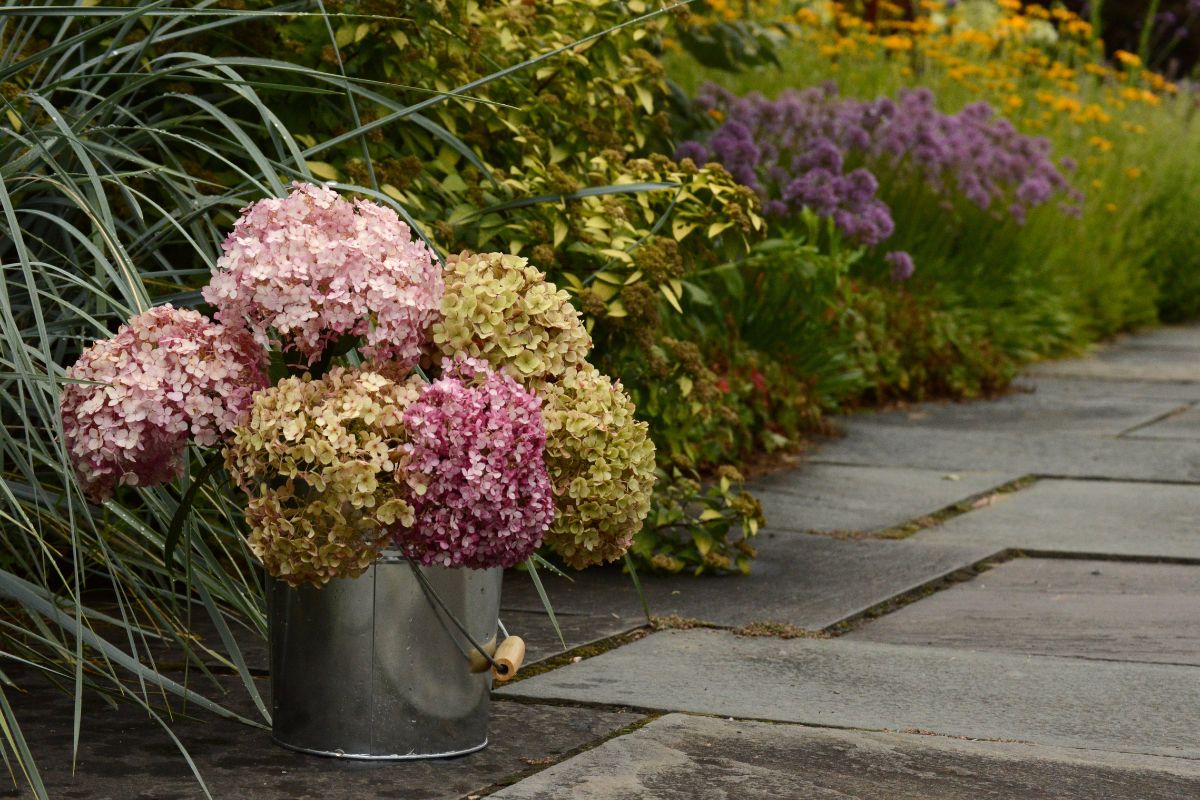
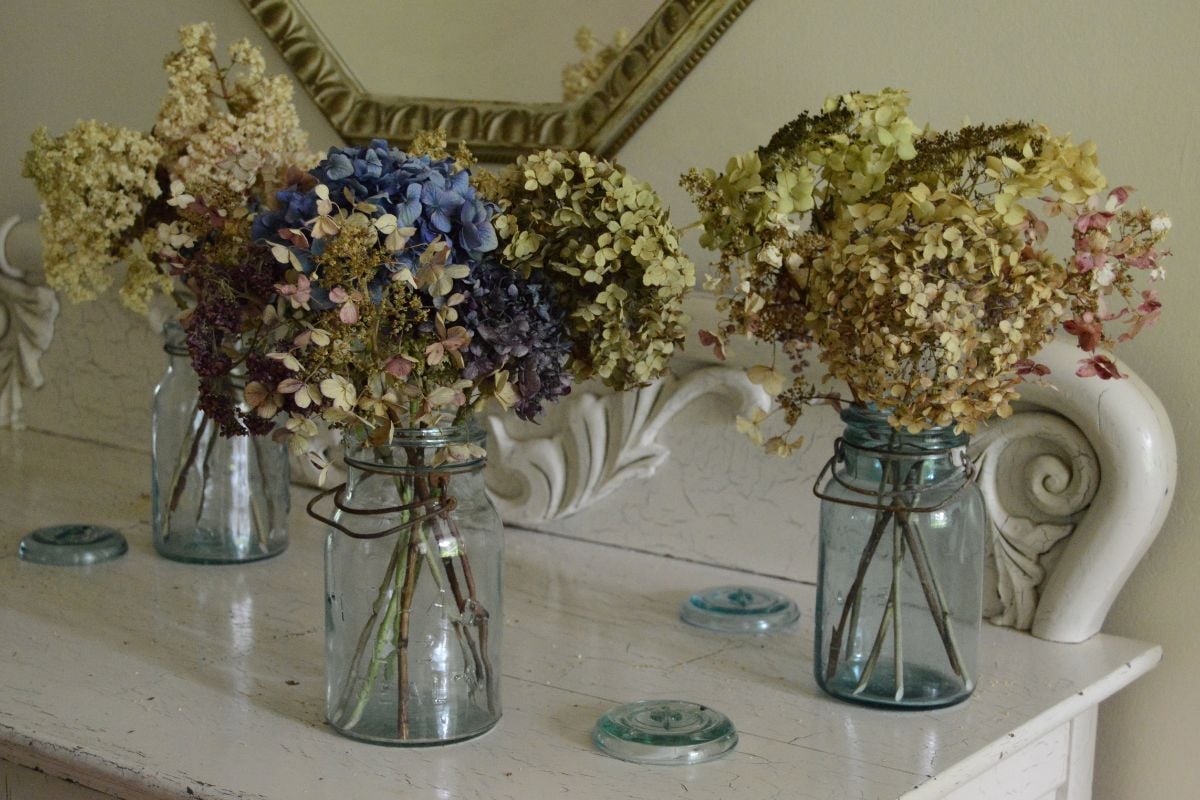
This was a fun experiment. Not everything turned out perfectly, but then that wasn’t the goal. I can’t wait to try another round as the season progresses. In the meantime, I am enjoying my first basket of dried Hydrangeas.