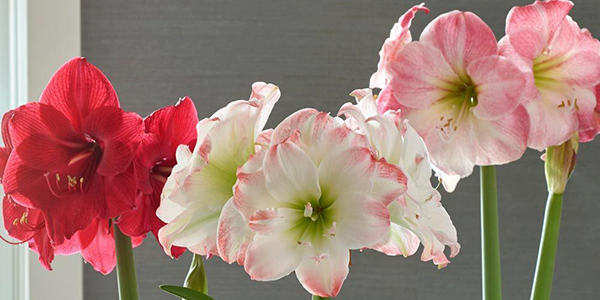
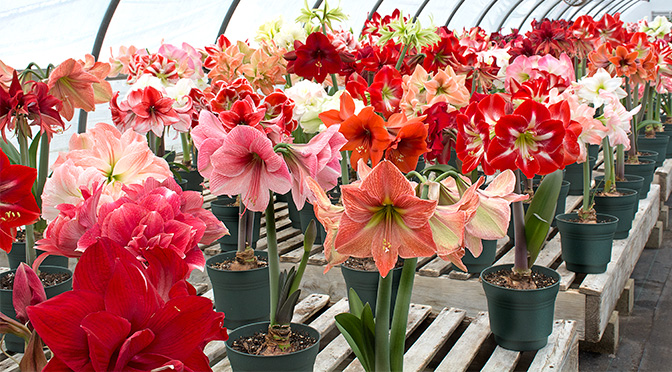
If you’ve never before grown an Amaryllis, you’re about to see just how easy and fun it can be. Here you’ll find some helpful tips for getting a prepotted bulb started, and caring for it properly before it blooms.
First, keep in mind that signs of growth can generally be seen 2-8 weeks after your bulb arrives. Generally, you’ll see the bright green tip of a blossom stalk or leaf emerging from the top of the bulb. Certain varieties of Amaryllis may take a bit more time to sprout. As long as your bulb remains firm, be patient and take care not to overwater.
Watering: Potted Amaryllis need only a thorough watering with lukewarm water to begin growing. After that initial drink, water your bulb only when the top 1″ inch of the potting mix is dry to the touch. Watering more frequently, particularly just after potting, can cause the bulb to rot. If the pot is covered with Spanish Moss, lift the moss and pour water directly on the potting mix.
Temperature: Place the pot where the temperature remains above 60°F. The warmer the temperature (70-80°F night and day is ideal), the faster the bulb will sprout and grow. Providing bottom heat (by setting the pot on a propagation mat or on the top of a refrigerator) may help stimulate growth.
Where to Place Your Amaryllis in the House: As soon as the bulb sprouts, provide ample sunshine; a south-facing window or a sunroom is ideal. Rotate the pot frequently to prevent the flower stalks from leaning toward the light.
Use Amaryllis Stakes: The flower stalks may require support to keep from toppling. Click here for our Amaryllis stakes that are ideally suited to this purpose.
You’ll find more tips and tricks for how to care for Amaryllis here.