Category Archives: cut flowers

A Beginner’s Guide to Growing Sweet Peas

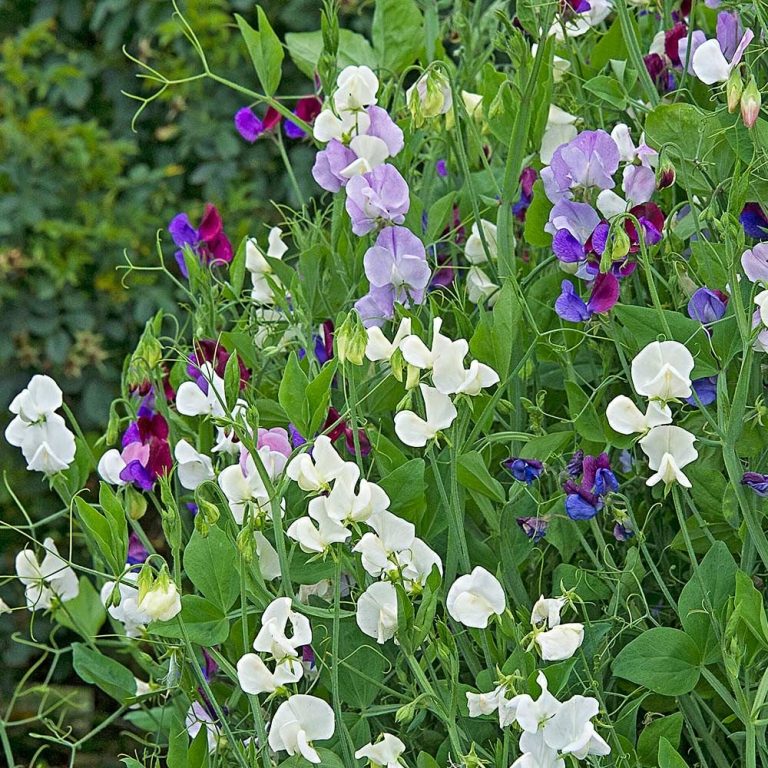
Sweet Peas (properly called Lathyrus odoratus) are one of the great plants for cutting, and they provide irresistible colors and fragrance for spring and early summer bouquets. The delicate flowers are available in a wide range of rich colors, and they scent the air with grapelike perfume. To help those who have never grown Sweet Peas in a garden or a container pot, we asked our nursery manager, Barb Pierson, to offer a bit of advice. Her tips will help any novice or green thumb enjoy a bountiful crop of these beautiful flowers.

Why do people grow Sweet Peas?

Sweet Peas are grown for their beautiful ruffled flowers in shades of pastels, blues, and bi-colors. Many varieties are fragrant making them a desirable cut flower. Sweet Peas have a long history of cultivation and breeding for both the home gardener and the florist trade.

Sweet Pea ‘Zinfandel’

How do I go about growing Sweet Peas?

Sweet Peas can be grown from seed and sown directly in the ground after a seed treatment or, more easily, from a started plant. Here at White Flower Farm, we sow 3 seeds per pot to produce 3 growing Sweet Pea vines.

Where do I plant them and when?

Sweet Peas enjoy full sun in the northern half of the US. In the South, they can benefit from afternoon shade. They like cool roots and cool temperatures so they are planted as early as possible in the spring. A light frost will not harm newly planted seedlings. In very warm areas, they can be planted in the fall and grown through the winter and early spring. For best results, add compost to the soil and check that the area is well drained. Raised beds can be a good way to grow Sweet Peas.

Sweet Pea ‘Cherie Amour’

Do they need any special care while they are growing?

Because Sweet Peas are vining, they need support to grow up and flower. Many types of structures can work such as a trellis, supports with mesh or twine, or fences. They need a structure that is well anchored in the ground to support the weight of the vines. The plants will form tendrils that wrap around the support you provide.

They like a nutrient-rich soil so adding compost at the time of planting is recommended, and mulching Sweet Peas will keep the roots cool and retain moisture while growing.

Once the plants have grown to about 6” in height, it helps to pinch the growing tips by 1”, which will help the plants branch out and produce more flowering stems.

Sweet Pea ‘Cupani’s Original’

What are the most common mistakes that people make with Sweet Peas?

  • Waiting until mid-summer to plant them – they don’t like the heat and won’t produce flowers as readily
  • Not providing support at the time of planting. It is difficult to add your trellis or support after the plants have started growing
  • Poor soil without adding compost or fertilizer will result in weak plants and fewer flowers
  • Planting Sweet Peas too close together without thinning them can create an environment for powdery mildew and crowding, which reduces flower count

Do Sweet Peas produce pods that you can eat like the ones you find in the grocery store?

Although the seed pods look like Snap Pea pods, they are not edible. You can save the pods and seeds to produce plants for the following year. Keep in mind that the seeds may not produce plants that are the same color as the parent plant.

Will the plants come back again next year?

In most climates, the plants are not hardy through the winter. Even in warm climates, they are re-planted with fresh seed and plants to produce the most flowers and have vigorous growth.

When do they bloom? Are there tips for getting extra blossoms?

Sweet Peas will start blooming approximately 4 -6 weeks after visible vining. Timing of bloom will depend on whether the plants have been pinched back. Pinching may slow growth somewhat, but it will produce bushy plants with more flowers. Sweet Peas will grow and flower faster as the days get longer in spring and early summer. Using compost or dried aged manure will help provide nutrients to produce large abundant flowers. A fertilizer with higher phosphorus than nitrogen can boost flower production as well.

Sweet Pea ‘Cherie Amour’

What is the process for cutting the blooms?

Cut the blooms in the morning before the sun has had time to dehydrate them. Choose freshly opened flowers on the longest stems for your vase. Do not cut the main stem of the plant, just the side flowering stems.

Why should I get my Sweet Peas from White Flower Farm?

Our plants are produced in our greenhouses in spring and are shipped to you at the proper time for planting in your area; no seed treatment or waiting for germination required. We ship our Sweet Peas in 4” pots – each containing 3 fully rooted seedlings – and they arrive ready to go into the ground. This saves you the time and trouble it takes to grow Sweet Peas from seed. Buying and planting our Sweet Pea seedlings is the quickest way to enjoy these fragrant flowers outdoors and in vases in your home.

SHOP SWEET PEAS

Field Tips for Harvesting Cut Flowers

Most gardeners enjoy growing flowers for the beauty they bring to outdoor areas. But we also like cutting blossoms and bringing them indoors in vases. For advice on how to cut and care for your own fresh cut flowers, we turned to White Flower Farm staffer Mary Altermatt. In addition to her job here in the Publications department, Mary is the owner of Mountain Meadow Flowers of New Milford, CT, purveyor of beautiful, organically grown perennial and annual cut flowers.

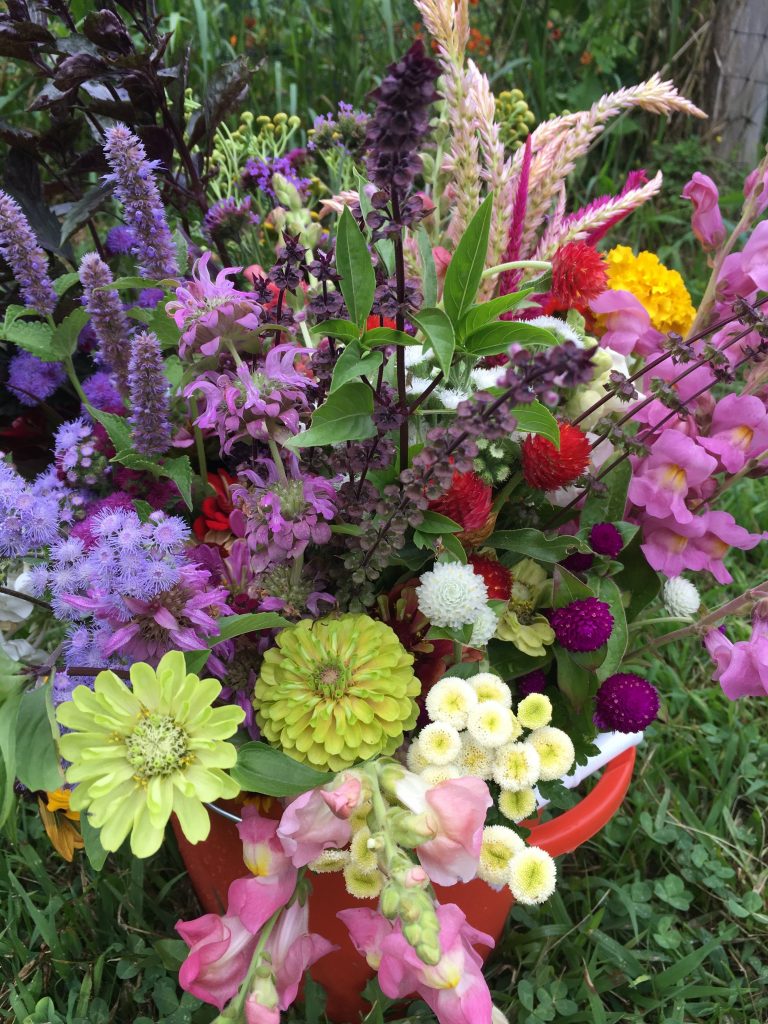
On her farm in New Milford, CT, she grows approximately 200 varieties of annual cut flowers from seed using organic methods. Throughout the growing season, she creates cut flower bouquets, which are sold at the White Flower Farm Store in Morris, CT, at area farmer’s markets, and to private clients. She also sells flowers by the bucket so clients including restaurants can create their own arrangements.

After 25 years of growing, here are some of Mary’s field tips for harvesting flowers:

  • Have plenty of clean buckets on hand, lightweight plastic is fine. Before cutting flowers, wash your buckets, vases and pruners with a mix of 1 tablespoon of bleach to 1 gallon of water, let sit for a few minutes, rinse out and then fill with clean water, about 1/3 full. Bacteria growth in the water will clog the flower stem and prevent the flower from staying hydrated so these hygiene steps are well worth the effort. Buckets that are clean enough to drink out of is the rule of thumb.
  • Bring your bucket to the garden, preferably left close by in the shade, so when you cut a handful of stems they can go right into the water. When cutting, be sure to use a floral knife or scissors with thin blades to avoid crushing the stems. (If stems are crushed, it will inhibit or block the uptake of water.) As you’re harvesting, strip off the lower foliage that would be below the water line and shake off any excess dirt, to keep your harvest bucket as clean as possible.
  • It’s best to cut your flowers when they are cool and well hydrated, either early in the morning or later in the day, not in the heat of the day. Avoid harvesting flowers that are wet from rain or after watering. Damp flowers and foliage in a bucket will invite mold and fungus. Rather than over-stuffing your bucket and possibly crushing blooms, bring an extra bucket to the garden.
  • Do a little research ahead of time to know at what stage to harvest certain flowers. For example, a Sunflower should be cut when the petals start opening away from the center disk. A Peony should be cut before it opens at all, when the bud feels like a marshmallow.
  • After harvesting, bring the buckets into a cool holding area and remove any leftover lower leaves. The stems can be recut at an angle underwater. This prevents air bubbles from forming within the flower stems thereby blocking the flowers’ water uptake. For some flowers, like Dahlias, which have hollow stems, you can hold each stem upside down under the faucet, fill it with running water, hold your thumb over it like a straw, then submerge it into the bucket. This will strengthen the stem and prevent collapsing.
  • Transfer the stems to the “resting bucket” of clean water with a flower preservative, most commercial ones contain sugar for food, bleach to control bacteria, and a water acidifier. Let the flowers rest for at least a few hours in a cool spot or overnight, so they can take up plenty of water before more handling and arranging.
  • When it comes to arranging, Mary will provide a separate blog post with tips. But for some general guidelines, choose a color palette you like, choose a variety of heights, flower forms, and textures. Add something aromatic, if you have it, from fresh picked herbs to fragrant flowers.
  • After arranging your bouquet, hold it in one hand, if possible, and give a clean cut to even out the stem ends. For a longer vase life, the bouquet stems should be recut every three days and the vase water changed every other day to ensure clear uptake. If a flower completely wilts or becomes moldy, remove it from the bouquet. Display your bouquet out of direct hot sunlight and away from the fruit basket. Ripening fruit emits ethylene gas, which causes cut flowers to deteriorate faster.


For more information on Mountain Meadow Flowers, visit www.mountainmeadowflowers.com


Caring for Cut Flowers

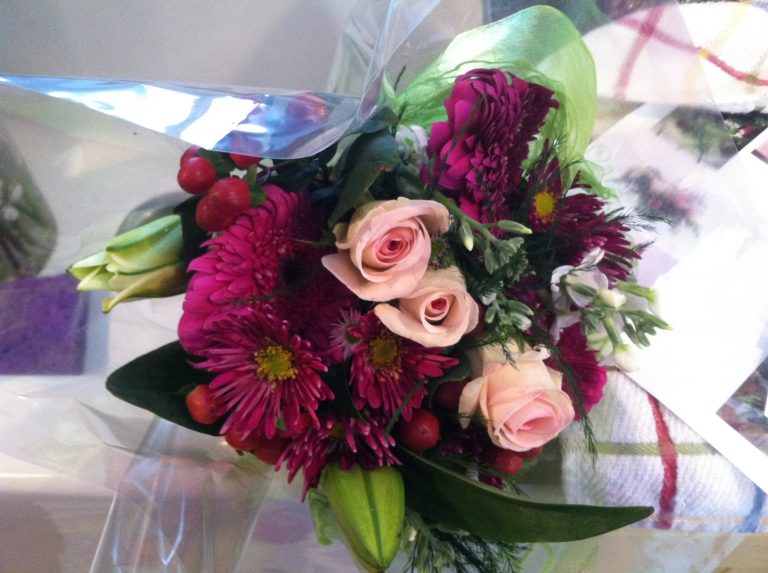
In the depths of winter, when color in the landscape is hard to come by and the flowers that filled our summer gardens exist only, for the time being, in our memories and imaginations, many of us decorate our homes with cut flowers. The sight of a bountiful bouquet of flowers, or the fragrance of lilies and other blossoms can do wonders for winter-weary spirits. Many of us also give and receive cut flowers for Valentine’s Day, which, as it happens, is coming right up.

To help you properly care for your cut flowers, our video crew recently went to work readying a film on the topic. As it works its way through post-production, we thought we’d provide a few timely tips. So, just in time for your Valentine’s Day delivery, here are a few quick and easy pointers on caring for cut flowers:

Whether your bouquet arrives by mail order or from a local shop, open the box or bag as soon as possible and carefully remove all packaging materials. (If the flowers are wrapped in a cello sleeve, slice the sleeve off rather than pulling the flowers out. The same is true for rubber bands or plastic binders. Cut them and gently tug them off the stems. Pulling the stems free can break off petals, buds or blooms.) Set your flowers beside the sink.

img_6441

Find a vase you wish to use, or use the one that may have arrived with your bouquet. The vase should be sized appropriately for your flowers. Even the most beautiful bouquet will look terrible in a vessel that has too wide a neck (which causes the stems to splay and the bouquet to look sparse) or one that’s too small (which can crush or bruise the flower stems thereby shortening the life of your bouquet). In terms of height, designers generally select a vase that is 1½ times shorter than the stems. All of that said, the main idea is to please yourself, so choose the vase you love best or the one that has the most meaning to you.

Disinfect the Vase

If the vase is your own, be sure it’s clean. A general practice employed in the floral trade is to disinfect with a solution of 1 part bleach to 10 parts water. Make certain to rinse the vase thoroughly to eliminate the bleach. Fill your vase two-thirds full of lukewarm water.

Don’t Overfeed

If plant food arrives with your bouquet (it will resemble a small sugar packet), take a minute to read the instructions on the label, which generally call for a small amount to be mixed in (not the whole package at once). Add the recommended amount to the water and stir it in. Do not add too much and overfeed as this may cause harm to your flowers. Conserve any remaining plant food for use in the coming days when you refresh the water. Remember that plant food does not always accompany bouquets. Many bulbous blooms such as lilies, tulips, daffodils and iris don’t require it.

3-img_2634

Provide Support

Flowers are easiest to arrange if they’re held in place. Use a flower frog or floral foam in the bottom of the vase, if possible, or use cello tape to create a lattice pattern across the top of the vase, leaving openings at intervals for the stems.

1-if-you-dont-have-a-flower-frog-or-floral-foam-use-cello-tape-in-a-lattice-pattern-across-the-top-of-the-vase-or-container

Hydration Is the Key

The most important thing you can do for cut flowers is to give them water. If hydration is denied for too long, blossoms will droop and fade away. (We’ve all seen bouquets in which budded roses never bloom, they simply hang their heads and dry out, most likely due to lack of water.)

Using a pair of sharp scissors or pruners, cut at least 1 inch off the bottom of each stem, cutting the stems at an angle so they won’t sit flat against the bottom of the vase, inhibiting the uptake of water. Strip away any leaves that will otherwise be submerged in the vase. (Submerged leaves can invite bacteria.) Set each stem in water as quickly as possible. Continue with the other flowers in the bouquet, arranging them as you go. Don’t be afraid to pull them out and rearrange them to create a composition you like. Remember that some flowers including roses and lilies may arrive in bud stage and open gradually. Keep their mature sizes and shapes in mind as you place the stems.

If you can’t fit all of the flowers into a single vase, try using extra vessels. Likewise, if there’s a flower you don’t like in a mixed bouquet but would prefer to feature on its own, create two arrangements.

low-bouquet

Set your flowers in a bright spot with no direct sunlight. Avoid putting them on or alongside a heat source such as a radiator or fireplace. Check the water level regularly, adding more as needed. Change the water completely every few days to keep it fresh and clean, adding more plant food, if it came with your bouquet. If you see any flowers beginning to droop or “neck over,” trim their stems by another inch or so, and put them back in water. As days pass and some flowers naturally subside, remove and discard them. If a few flowers outlast all the others, transfer them to a smaller vase to enjoy them for as long as possible.

All of this may sound like a lot of work for one bouquet of flowers, but we promise the preparations go quickly, most are plain common sense, and they’ll help you get the most out of your beautiful bouquet.